6" Dried Flower Wreath or Candle Wreath Kit Assembly Instructions


Time to craft something beautiful...grab a cozy beverage, your wreath kit, a pair of scissors and either craft glue or hot glue. Make sure your work surface is washable or cover it with newspaper.


While either craft glue or hot glue will work well, I prefer simple craft glue for two reasons. First, I always want to take my time and enjoy the process...waiting a bit longer for craft glue to dry helps me accomplish this. Secondly, I can't stand trying to get all the hot glue "strings" off my dried flowers! If you're using craft glue, here's a tip...while you're working, turn it upside-down in a small vase or heavy cup. This will keep your glue at the tip and it will dispense easily with one hand.


Visually divide your wreath into 3 sections, and apply glue heavily to 1/3 of the wreath.


Pinch off tufts of moss and press firmly into the glue. Add more glue and moss to fill the 1/3 of the wreath well. When the moss looks full and placed as you want it, shake the wreath to get off all the loose bits. You may need to add more moss and glue at this point to fill in any bare spots.


Take the greenery provided with your kit, divide it into 2, and lay it ends facing outwards along the wreath to "frame" the moss area and give you an idea about the best location for the stems.


Tuck the ends of the greenery into the moss, weaving as you are able into the wreath base. If it feels loose, add more glue to the area. It will be covered with flowers, so it doesn't have to look pretty at this point!


Spread out the florals from your kit bouquet on your table. Remove the stems from the larger blooms by snipping below the flower head with your scissors.


Select 3 large blooms for the focal point of the wreath.


Using a generous amount of glue to to the back of each flower, adhere them in a cluster to the center of the moss layer.


Here is what the wreath should look like so far...already you can see how stunning dried florals can be, even in a simple arrangement.


At this point you will begin to fill in around the focal flowers with smaller blooms. Notice how I put a generous amount of glue into the "hole" where I want the flower to go, and then tuck the flower into the space. Your blooms do not have to be symmetrical; it actually looks more natural if there is some asymmetry in your design.


For some flowers you may want to leave a 1" length of stem, put glue on the stem and then push the flower gently into the wreath. Please remember...dried flowers can be brittle, but are forgiving, so if they break, do not worry a bit! Simply take the remainder, add glue, and push it into place.


You can also fill in gaps with more moss to cover up unsightly stems. Dab the area with glue and fill in with a pinch of moss, holding briefly until set.


Notice how the wreath looks more full with florals and moss covering the entire 1/3 area.


When you have placed all the florals and moss that you would like on your wreath, there may be areas that look too "bushy" and need a bit of a trim. Use your scissors for this.


Your wreath is done! If you used craft glue, let it dry overnight, and then it can be set on a shelf or placed around a candle, laid flat. If you would like to hang it, use the linen ribbon as follows:


Fold the ribbon in half around the wreath and put the ends together.


Keeping the ends together, tie in a single knot.


I hope you have enjoyed creating a beautiful piece of home decor with natural flowers from my little farm. I would love to see a photo of your finished wreath!


Dried Flower Wreath Care

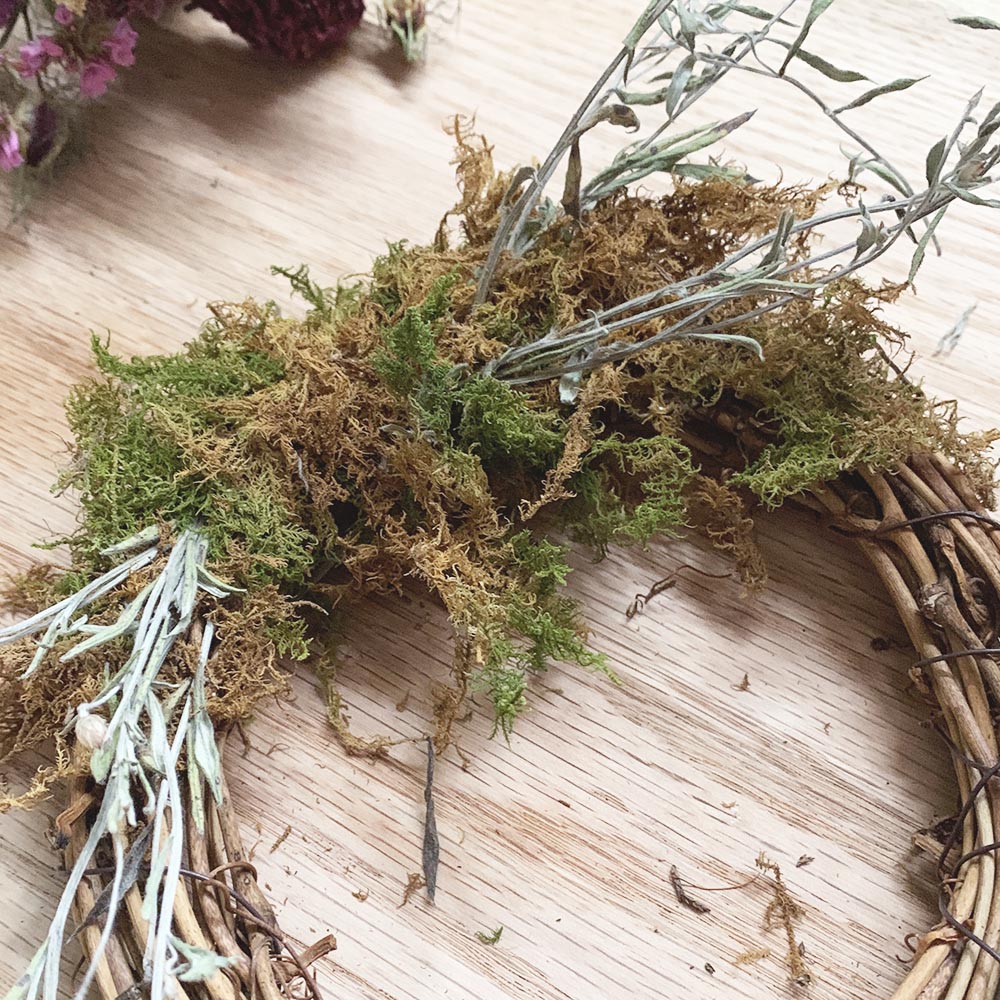
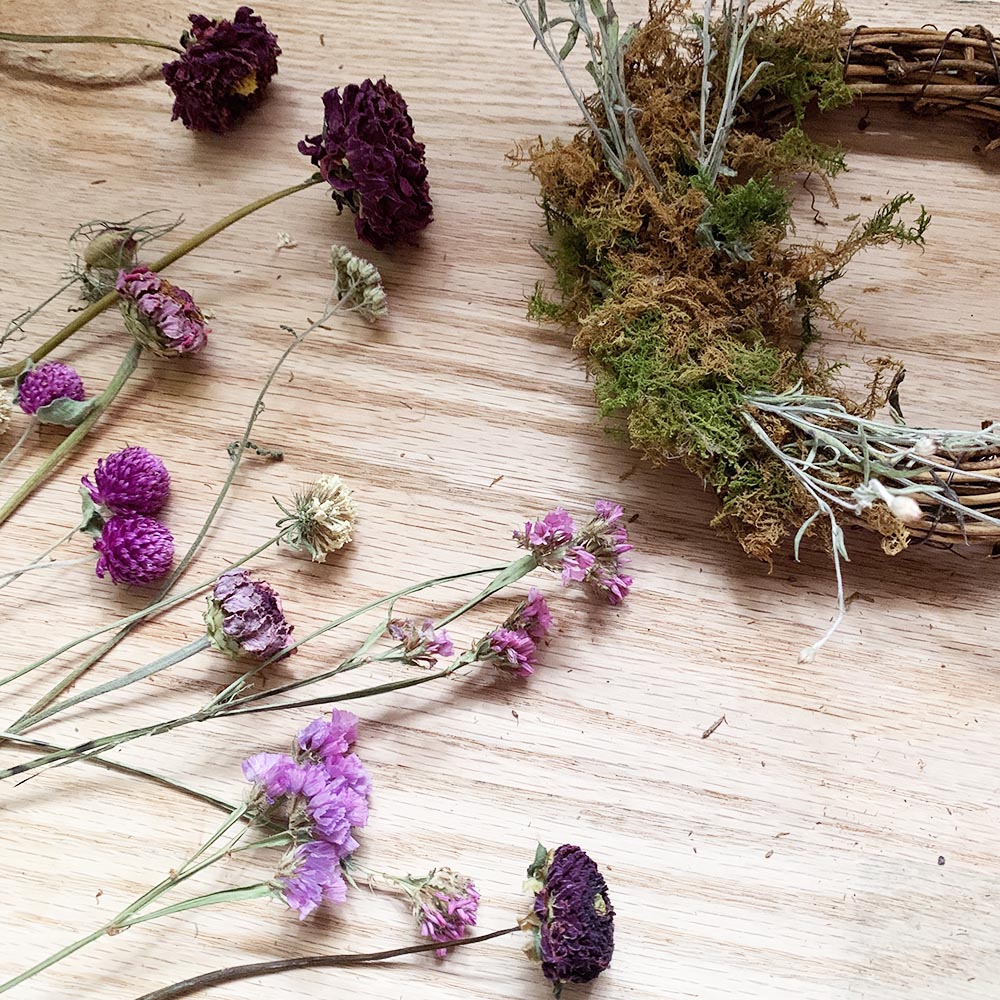
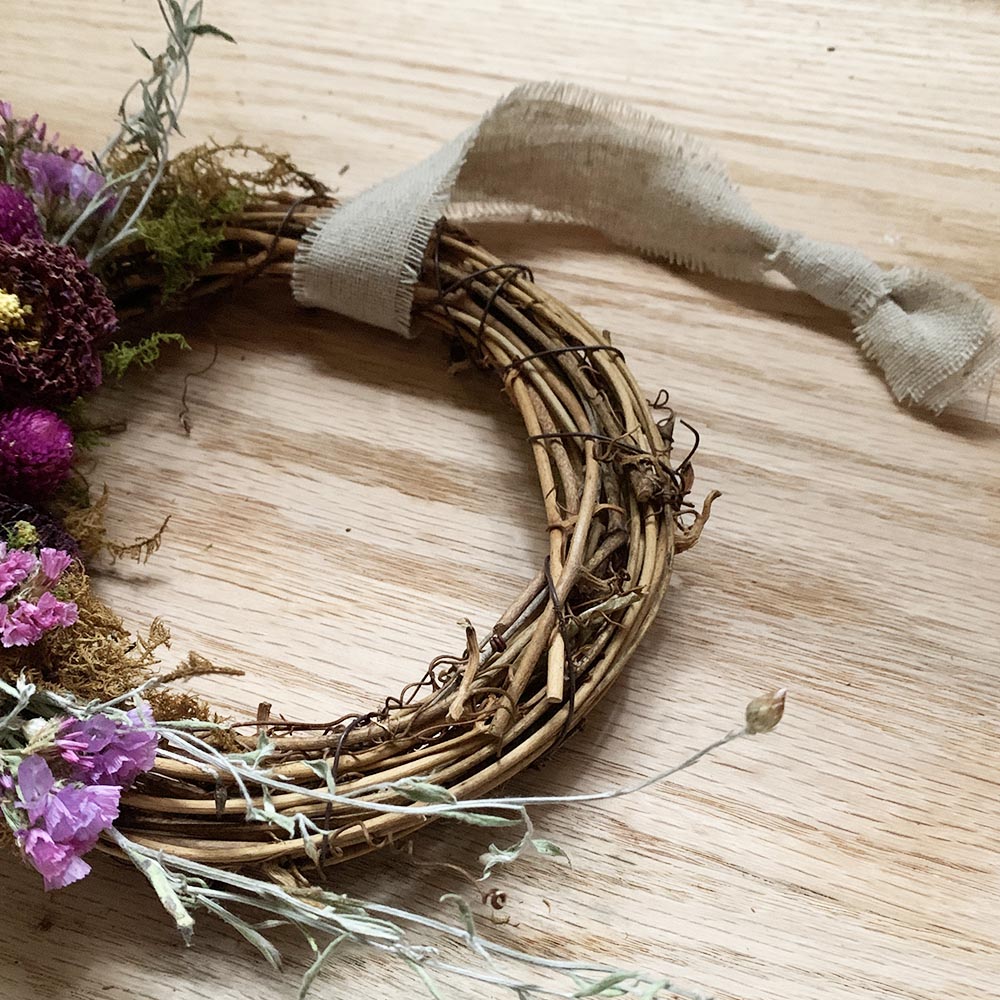
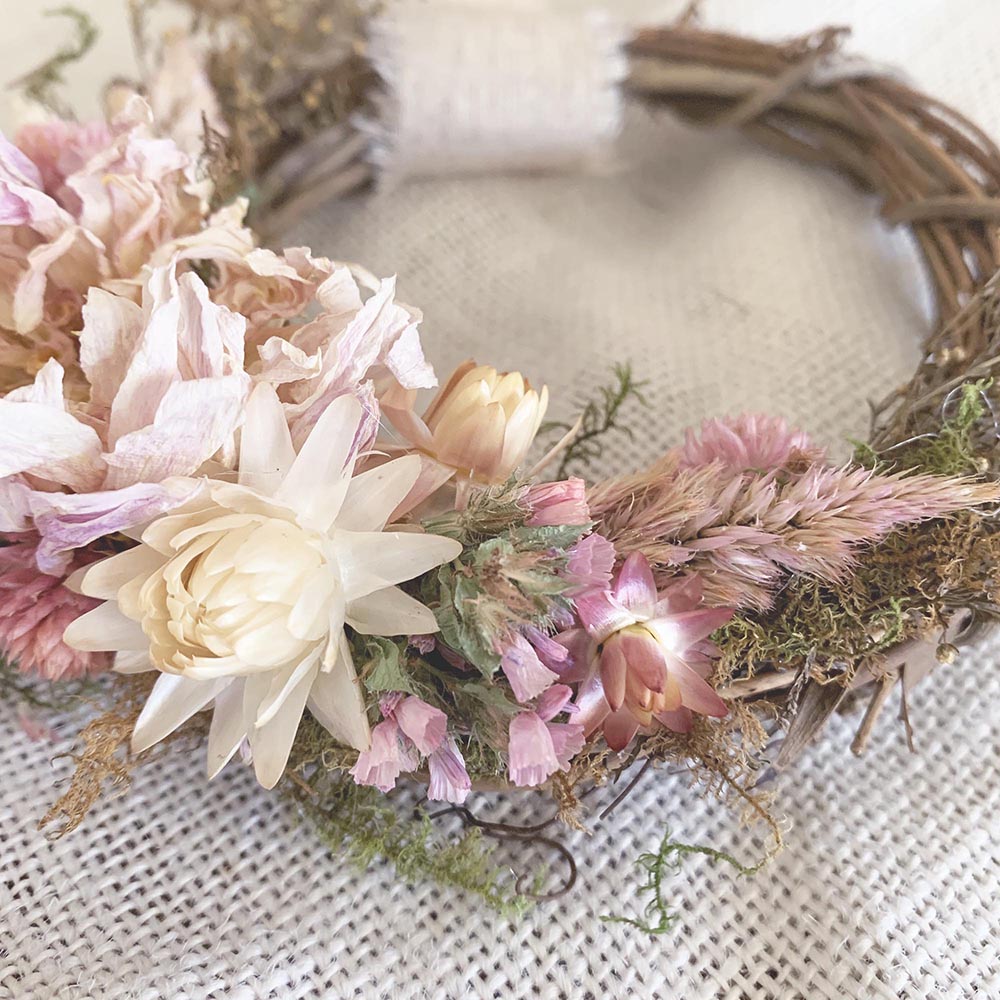
Dried flower wreaths are stunning, whether they are hanging on a shiplap wall, hooked over the back of an antique chair, or circling a stocky pillar candle! Because these wreaths are made from natural materials, however, they need a bit of extra care...but it's not hard! Here's how to keep your wreath beautiful:

1) Dried flower wreaths do not do well outdoors...even in a covered space...because the outdoor moisture puts the water back into the flowers that I worked so hard to get out! So...find the perfect indoor location for your wreath!

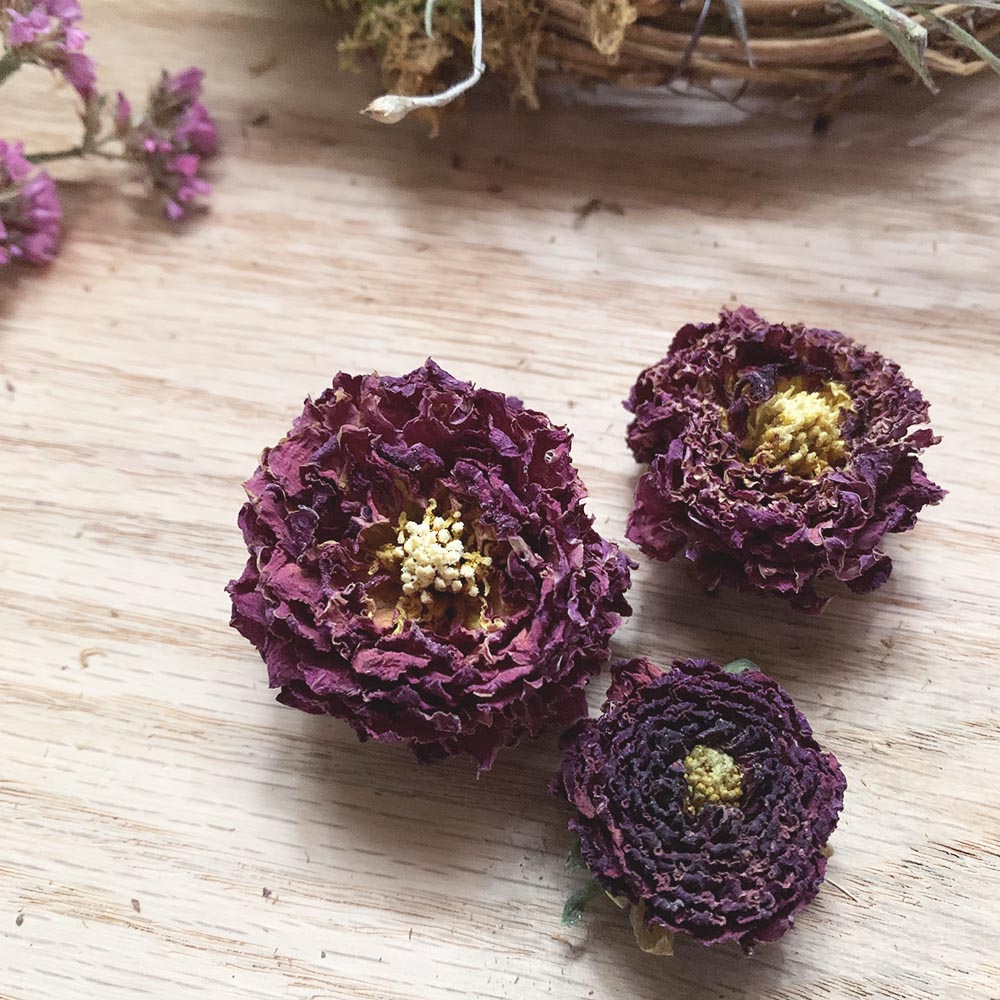
2) To keep the flowers vibrant, do not display the wreath in direct sunlight.

3) If the wreath gets dusty, you can simply blow it off with a hair dryer on a low, cool setting.

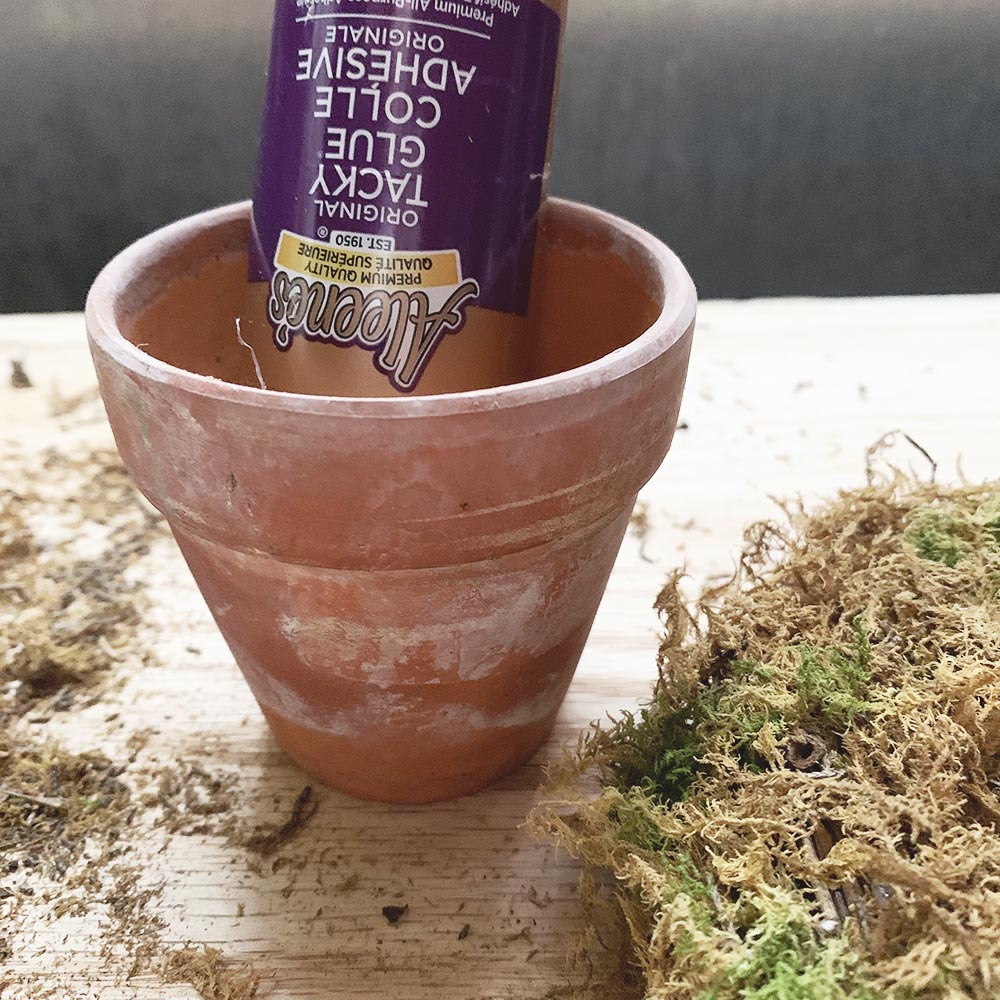
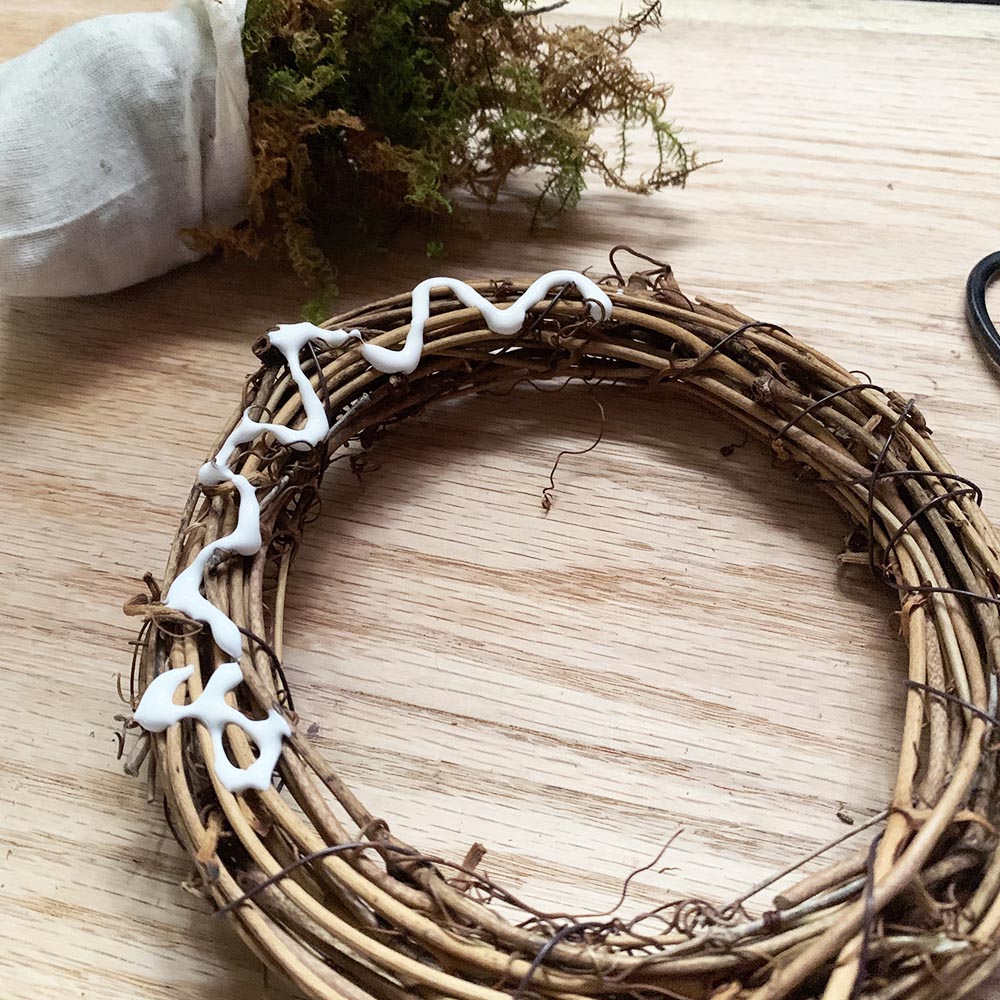
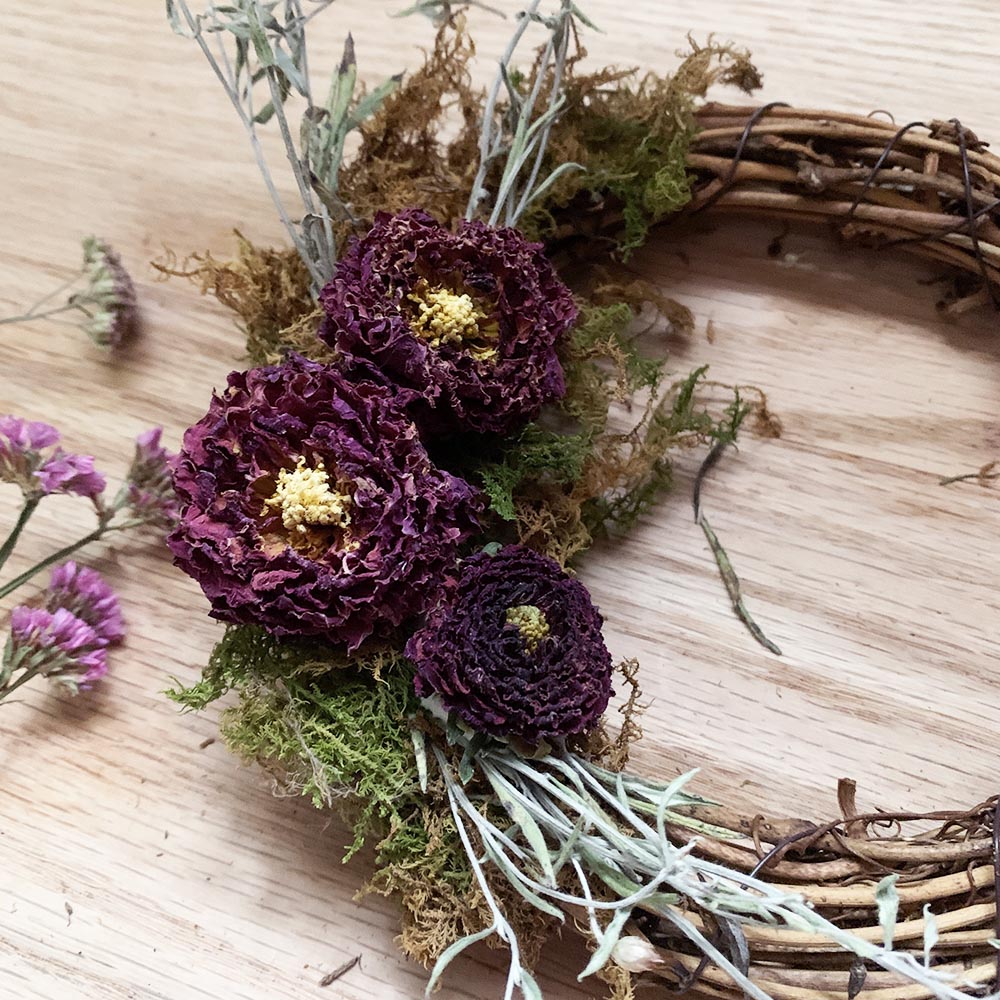
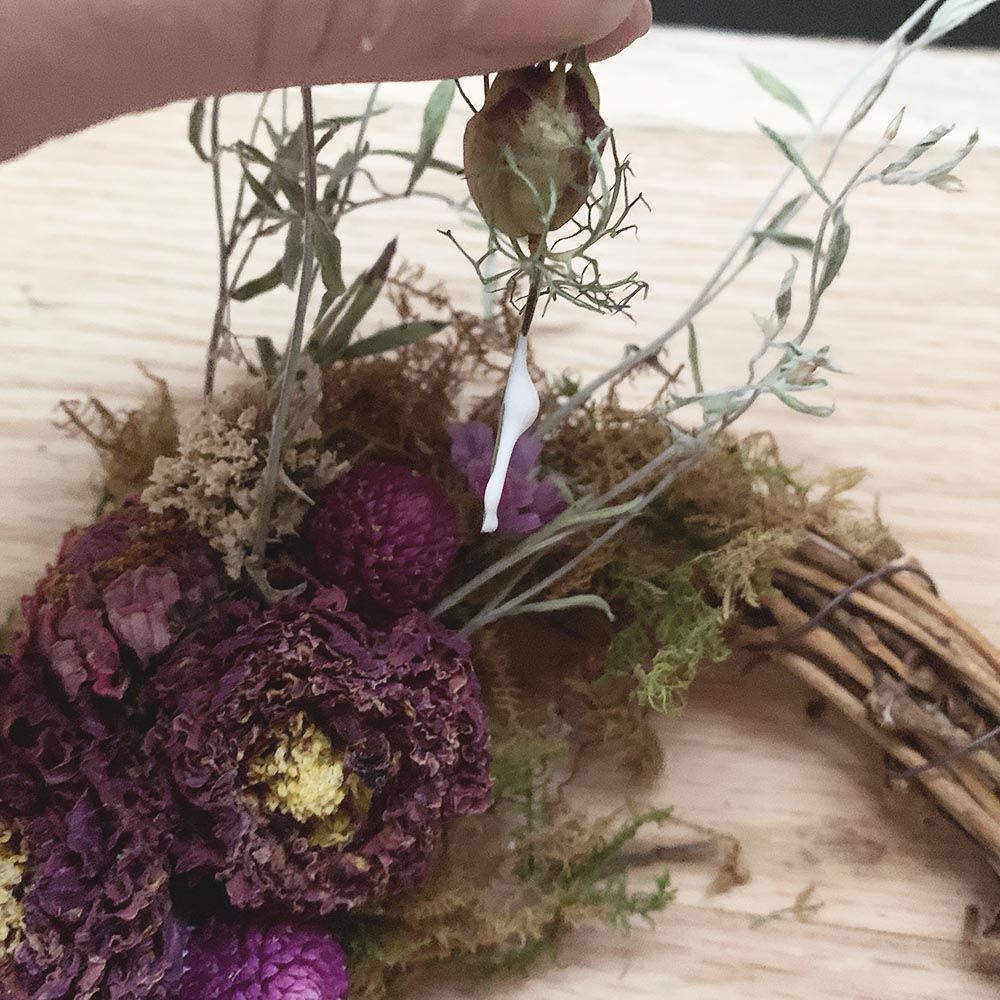
4) Don't worry if the wreath drops a few flowers now and then. Simply shake it off and move on! If a large portion becomes loose, you can reattach it with the same type of glue you used to put them on.

5) To store your wreath, wrap it in tissue paper, put in a box and keep in a dry location. It will stay pretty for many years!