I am excited to walk you through the creation of this very unique botanical wall hanging! All you will need is your kit and a pair of scissors. You will find that working at a table make the process easier...grab a yummy beverage and perhaps some relaxing music, and have fun!
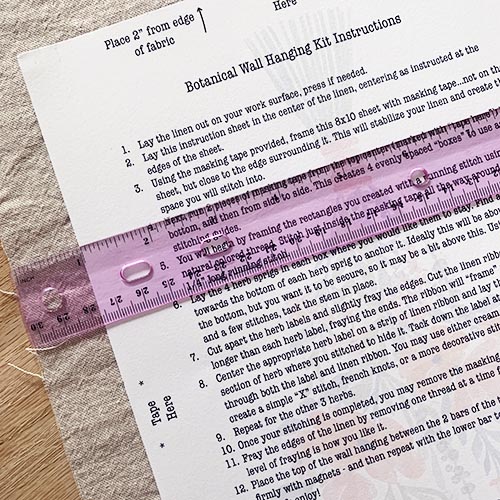
Lay the linen rectangle on the table. I pressed it before packing, but you may want to iron it again, as linen is prone to wrinkle. Take your instruction sheet and place it on the rectangle at the distance marked on the instruction sheet.
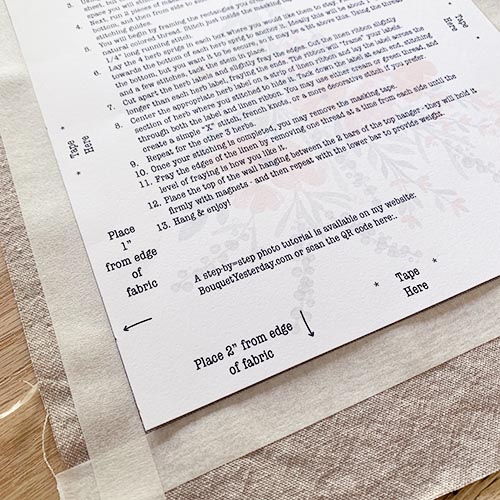
Using the enclosed masking tape, frame the instruction sheet. You may want to place a pen or pencil mark on the tape where the instruction sheet says "Tape Here" on all 4 sides. Set the instructions aside.
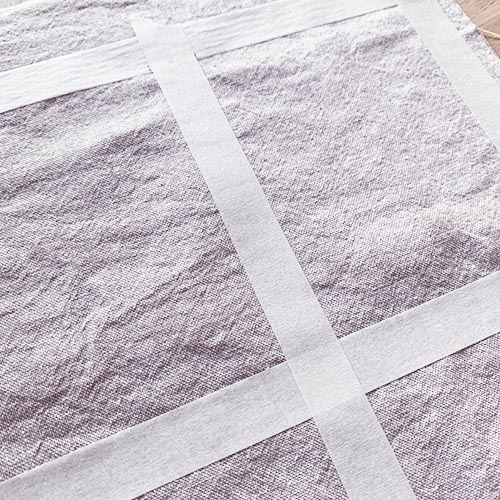
Where you marked the outside tape, run two pieces of masking tape vertically and horizontally across the linen. This will create 4 "boxes" to provide a stitch guide.
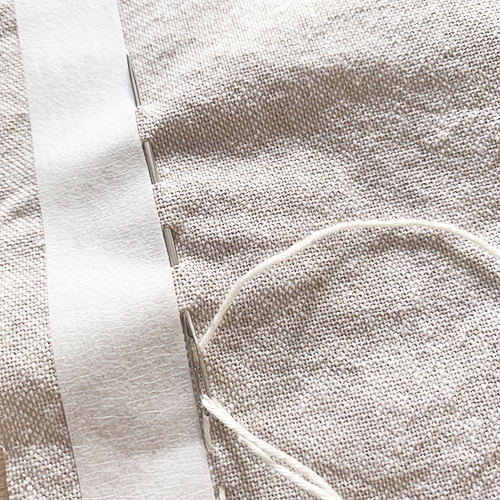
Using the cream colored Sashiko thread and the enclosed needle, begin stitching on the inside of the masking tape. You will do a simple in-and-out running stitch, making each stitch approximately 1/4" long. Continue this process to create 4 stitched "boxes" for your herbs.

Once your stitching is complete, you may remove the tape. Take the pressed herbs out of their packaging and lay them where you want them in the squares. Make sure to allow enough room below them for the labels. You may need to trim a bit off the ends of the sprigs to make room.
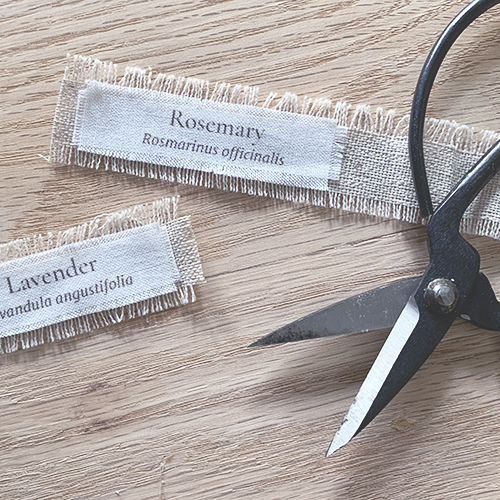
Cut out the herb labels and gently remove some outer threads to fray the label a bit. Then, set each label on the linen ribbon and cut the linen ribbon to make a "frame" for the herb label. Fray the ends of the linen ribbon as desired.
I find it helpful at this point to take a tiny bit of fabric or craft glue and glue the herb label to the linen ribbon frame...just a bit at each end...to hold them together while you sew them to your wall hanging.

Using the green thread, anchor the sprigs to the linen with a few stitches. Depending on the shape of the sprig, you may need to add a stitch or two to the top, as well.
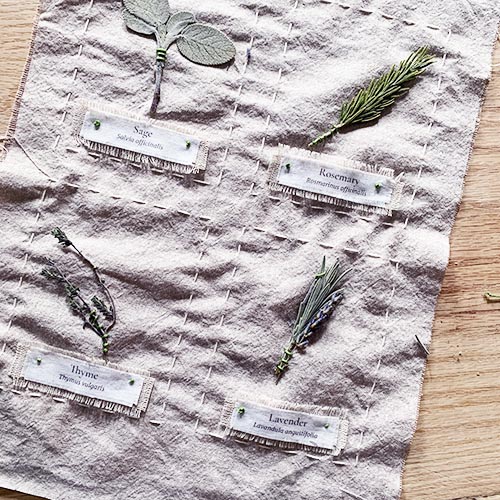
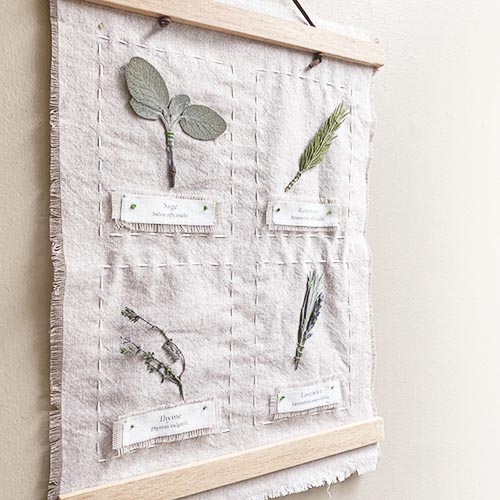
Once the herbs are stitched, you can stitch the labels beneath them. The photo shows them attached with a simple french knot on each side, but you could use an "X" or any other decorative stitch.
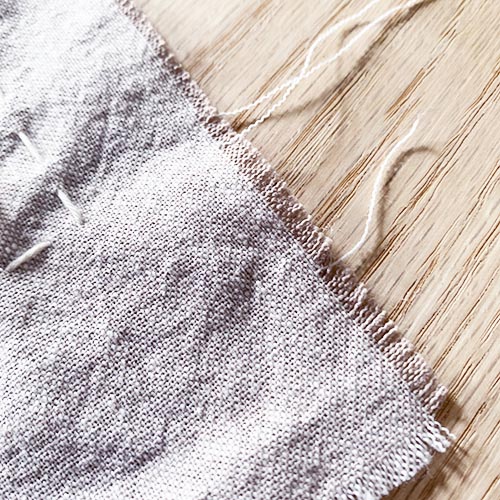
Fray the edges all the way around the wall hanging by carefully removing threads until it has the level of fraying you desire.