Dried Flower Magnet Tutorial


Assemble you materials...your craft kit, craft glue and scissors. Make sure you are crafting on a surface you don't mind getting a bit messy!

Using the enclosed ruler, measure and cut the linen ribbon to 2 3/4". Repeat for 2 more lengths.

Measure 3 lengths of floral ribbon and cut to 2 3/4".

Lay out the linen and floral ribbon for the first magnet and dot with glue on the back side of each.

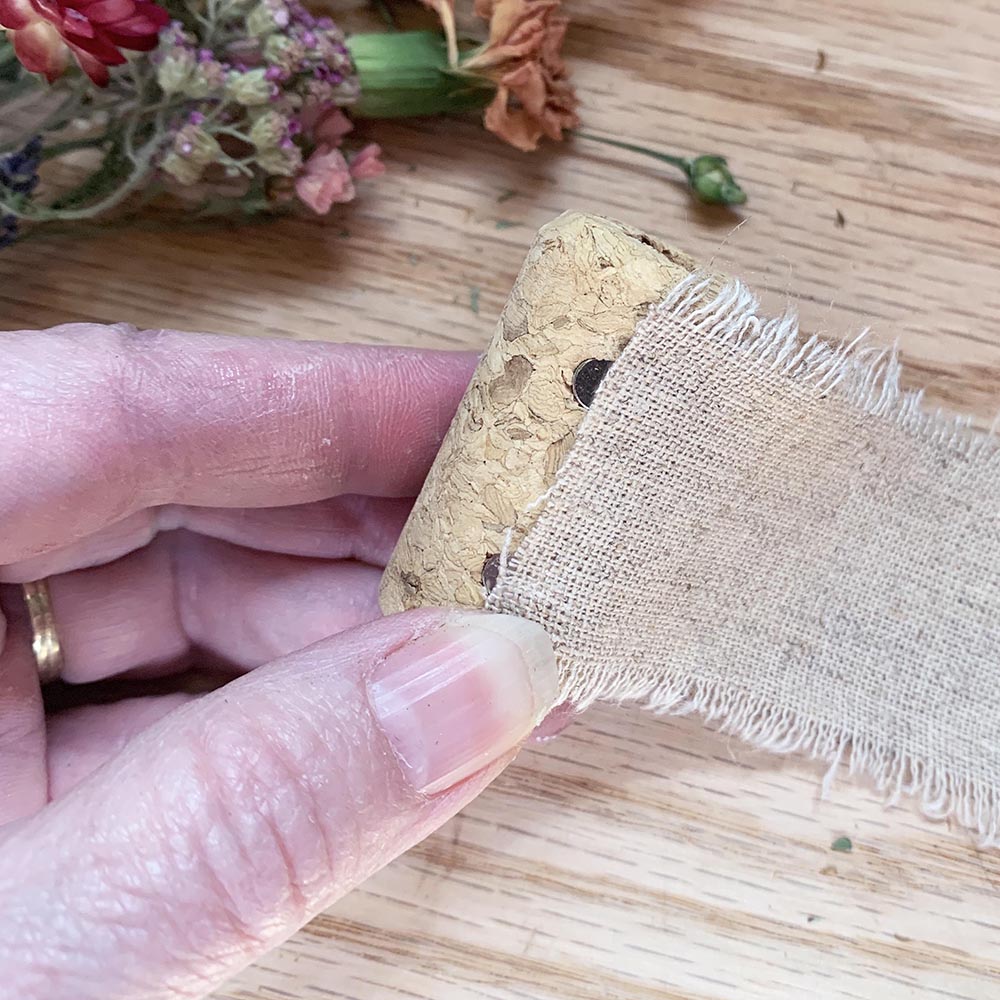
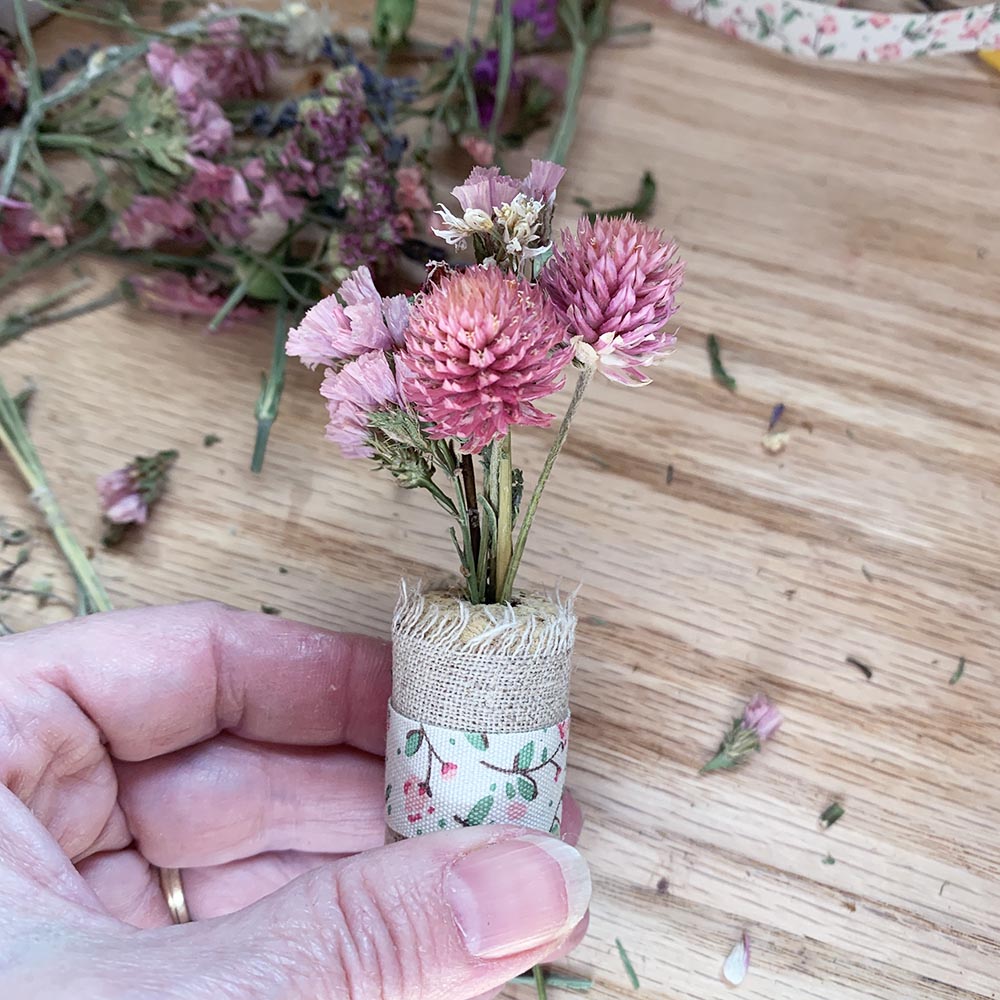
Starting at the back of the cork by the magnets, wrap the linen ribbon around the cork, smoothing as you go. You should finish right back at the magnets at the back of the cork.

Do the same with the floral ribbon...starting at the back and wrapping around the center of the cork.

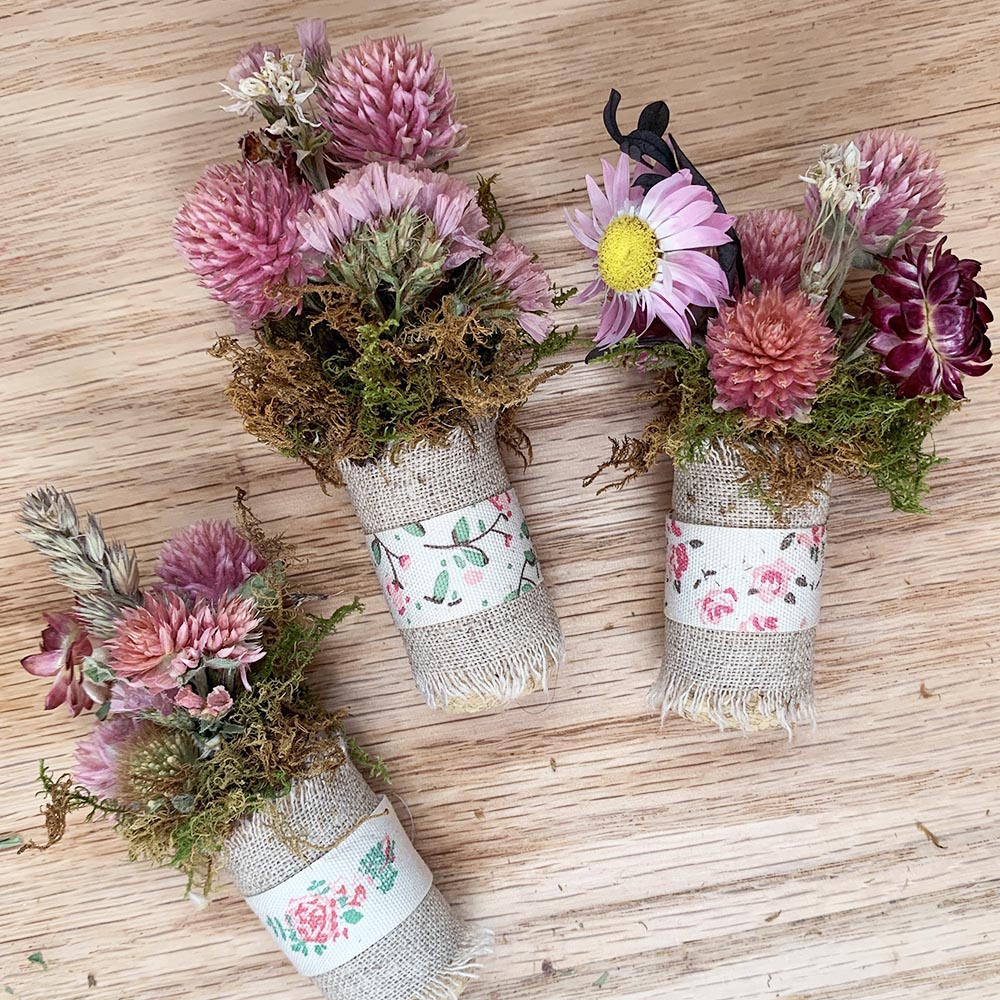
Repeat with the other 2 magnets.

Using the larger bouquet provided, unwrap the twine and make 3 smaller bouquets. You may need to trim the stems quite a bit to make them the right size for the magnet.

Put glue into the hole in the magnet and insert your bouquet, adjusting the stems as needed to fit. If there is more room in the hole, tuck in some extra blooms!

Once the flowers are how you want them, add a layer of glue at the top of the cork to adhere the moss.

Press little pinches of moss into the glue all the way around the magnet. Using scissors, trim off extra moss if needed.

Let your magnets dry overnight. They're ready to use on a magnetic surface or package to give to someone special.

I hope you had a wonderful time creating and being together!