
February 04, 2026
Yay! I'm so excited that you're here and ready to host an amazing craft night! I know...it can be stressful. Having hosted more crafting events and workshops than I can count, I know that sometimes it's not "fun" to plan a "fun" event! So, in my very first blog post I'm going to give you 10 steps to make it easier...and hopefully fun...to pull this together! Let's get started!
#1 Make Your Guest List
You may already have a group of friends in mind for your craft party, so if that's the case, you can just move on to Step #2. For the rest of you...I'd like to remind you that craft events are the PERFECT time to get to know new people in your life...think neighbors, new people at church, or co-workers. Having something to do with your hands avoids the awkwardness we sometimes feel with people we don't know...it gives the evening purpose. In the meantime, we have the opportunity to make new friends!
As far as numbers, I have found that 4-6 people is ideal--enough to meet a variety of people, but not too overwhelming for the host...and that is our goal!! If you have lots of space and your event necessitates a larger group, make sure to follow all the remaining steps to keep your event as stress-free as possible!
#2 Choose your craft project wisely - INTERESTS & ABILITY
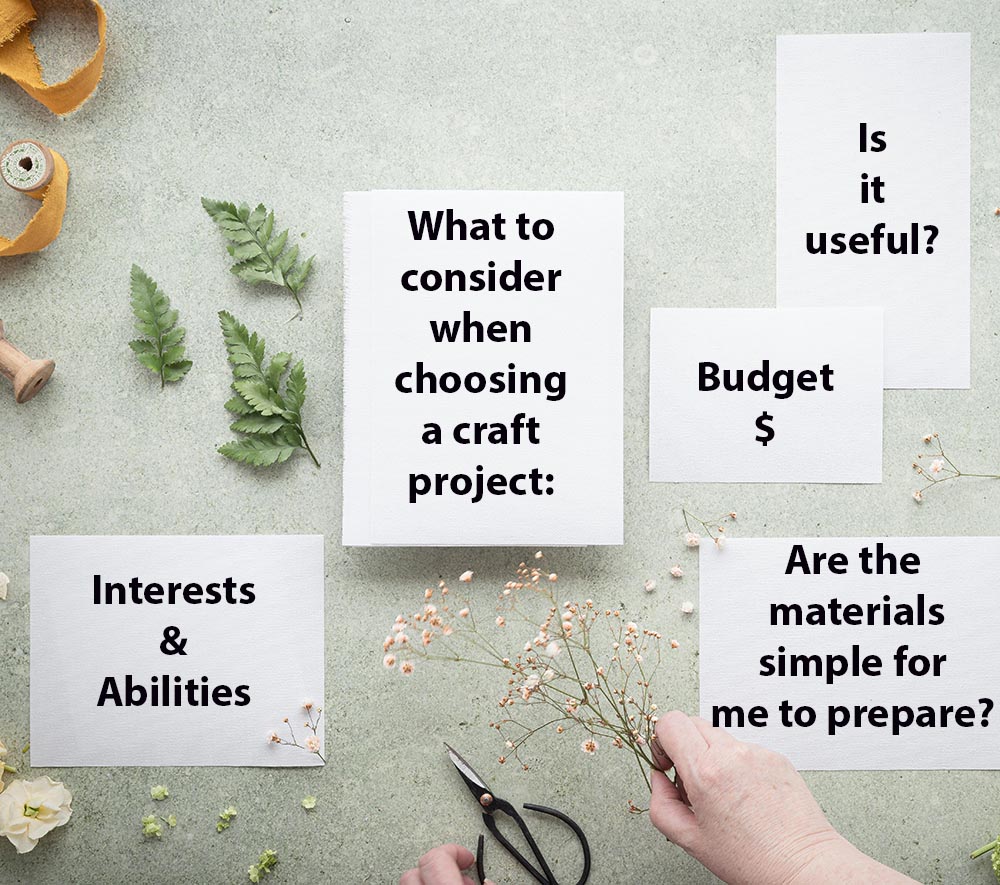
Steps #2-5 all actually have to do with how to choose the right craft project, because that is KEY to a successful event that doesn't cause you as the host to go prematurely gray! Here is a graphic that shows everything to consider when choosing a craft, and I'll go over each of them:
So, the first consideration is the interests and abilities of your group. This will obviously be determined by your decision in Step #1...who are you inviting? If it's a casual gathering of friends, then this is probably not going to be too hard, since you already know their hobbies and styles. Perhaps you know your friends already love to knit, and want to try their hand at a macrame project. Maybe someone in the group is good at watercolor, and everyone wants to learn to paint some pretty watercolor greeting cards. Fun!
However, if your intended group includes people you don't know, then it is always best to choose a craft that is beginner friendly...and I mean very simple. For those of us that are crafters, we don't think twice about using a hot glue gun or tying a bow with wired ribbon, but these things can be intimidating to some people. Make sure you think it through and allow plenty of time, assistance, and encouragement to those new to crafting. You want everyone to feel successful at the end of your party!
#3 Choose your craft project wisely - USEFULNESS
If you're a mom, then you've absolutely had a kid bring a craft project home from school, so proud of themselves, and you're thinking...I love this kid...I would give my life for this kid...but I do NOT want that hanging on my wall! I recently did a craft workshop for a group of homeschooled kids and used a scaled-down version of one of my dried flower craft kits for the project. At the end of the day, one of the moms gave me the best compliment when she said, "This is the first project my kids have done that I'm actually going to keep!"
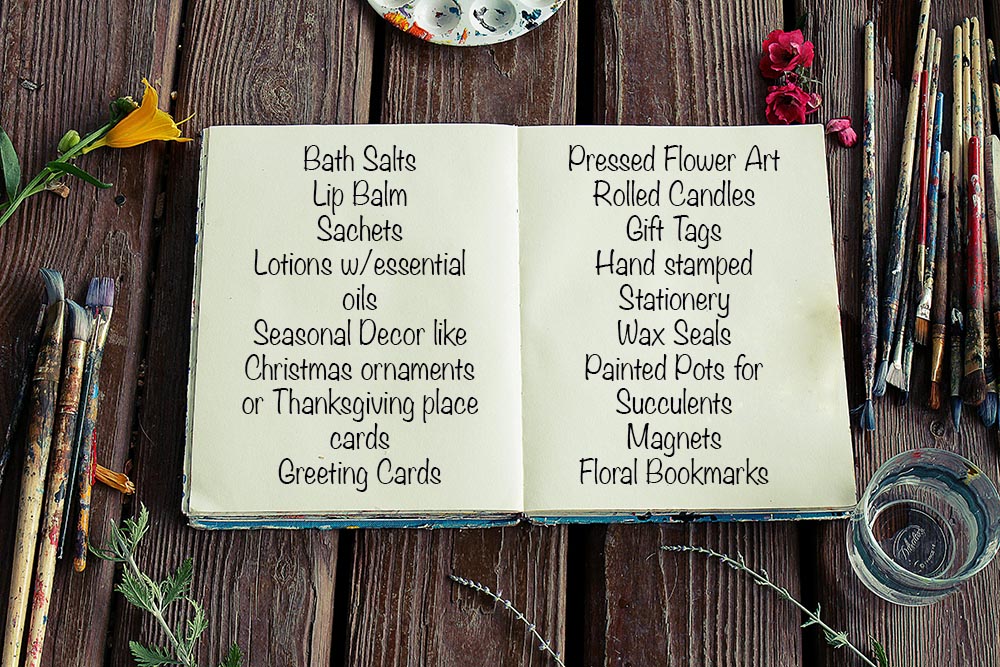
Takeaway...choose a project that everyone will actually want to USE and ENJOY. That likely means that the obnoxious colored felt, sequins, glitter and pipe cleaners are out. Really--I mean it! Adults get to do adult crafts, and if we're going to spend our money, let's spend it on something we LIKE. Your crafters should walk away from your event holding something that doesn't look "handmade" in a tacky way...it should look like it came from a cute boutique! Here are some ideas:
#4 Choose your craft project wisely - Keep it SIMPLE TO PREPARE
I have learned this lesson the hard way! At a women's event not too long ago, I decided on a fall wreath made of only natural materials--definitely my passion. The base was a grapevine wreath, but I saw on Pinterest (!) that if you cut pine cones into individual slices, they resemble flowers that can then be painted and glued or wired to the wreath. I could even gather my own pine cones! So I gathered...and washed...and dried...and cut (with a saw!)...and...said I would never do that again! I don't think those women had any idea how much work went into every piece of every wreath they made!
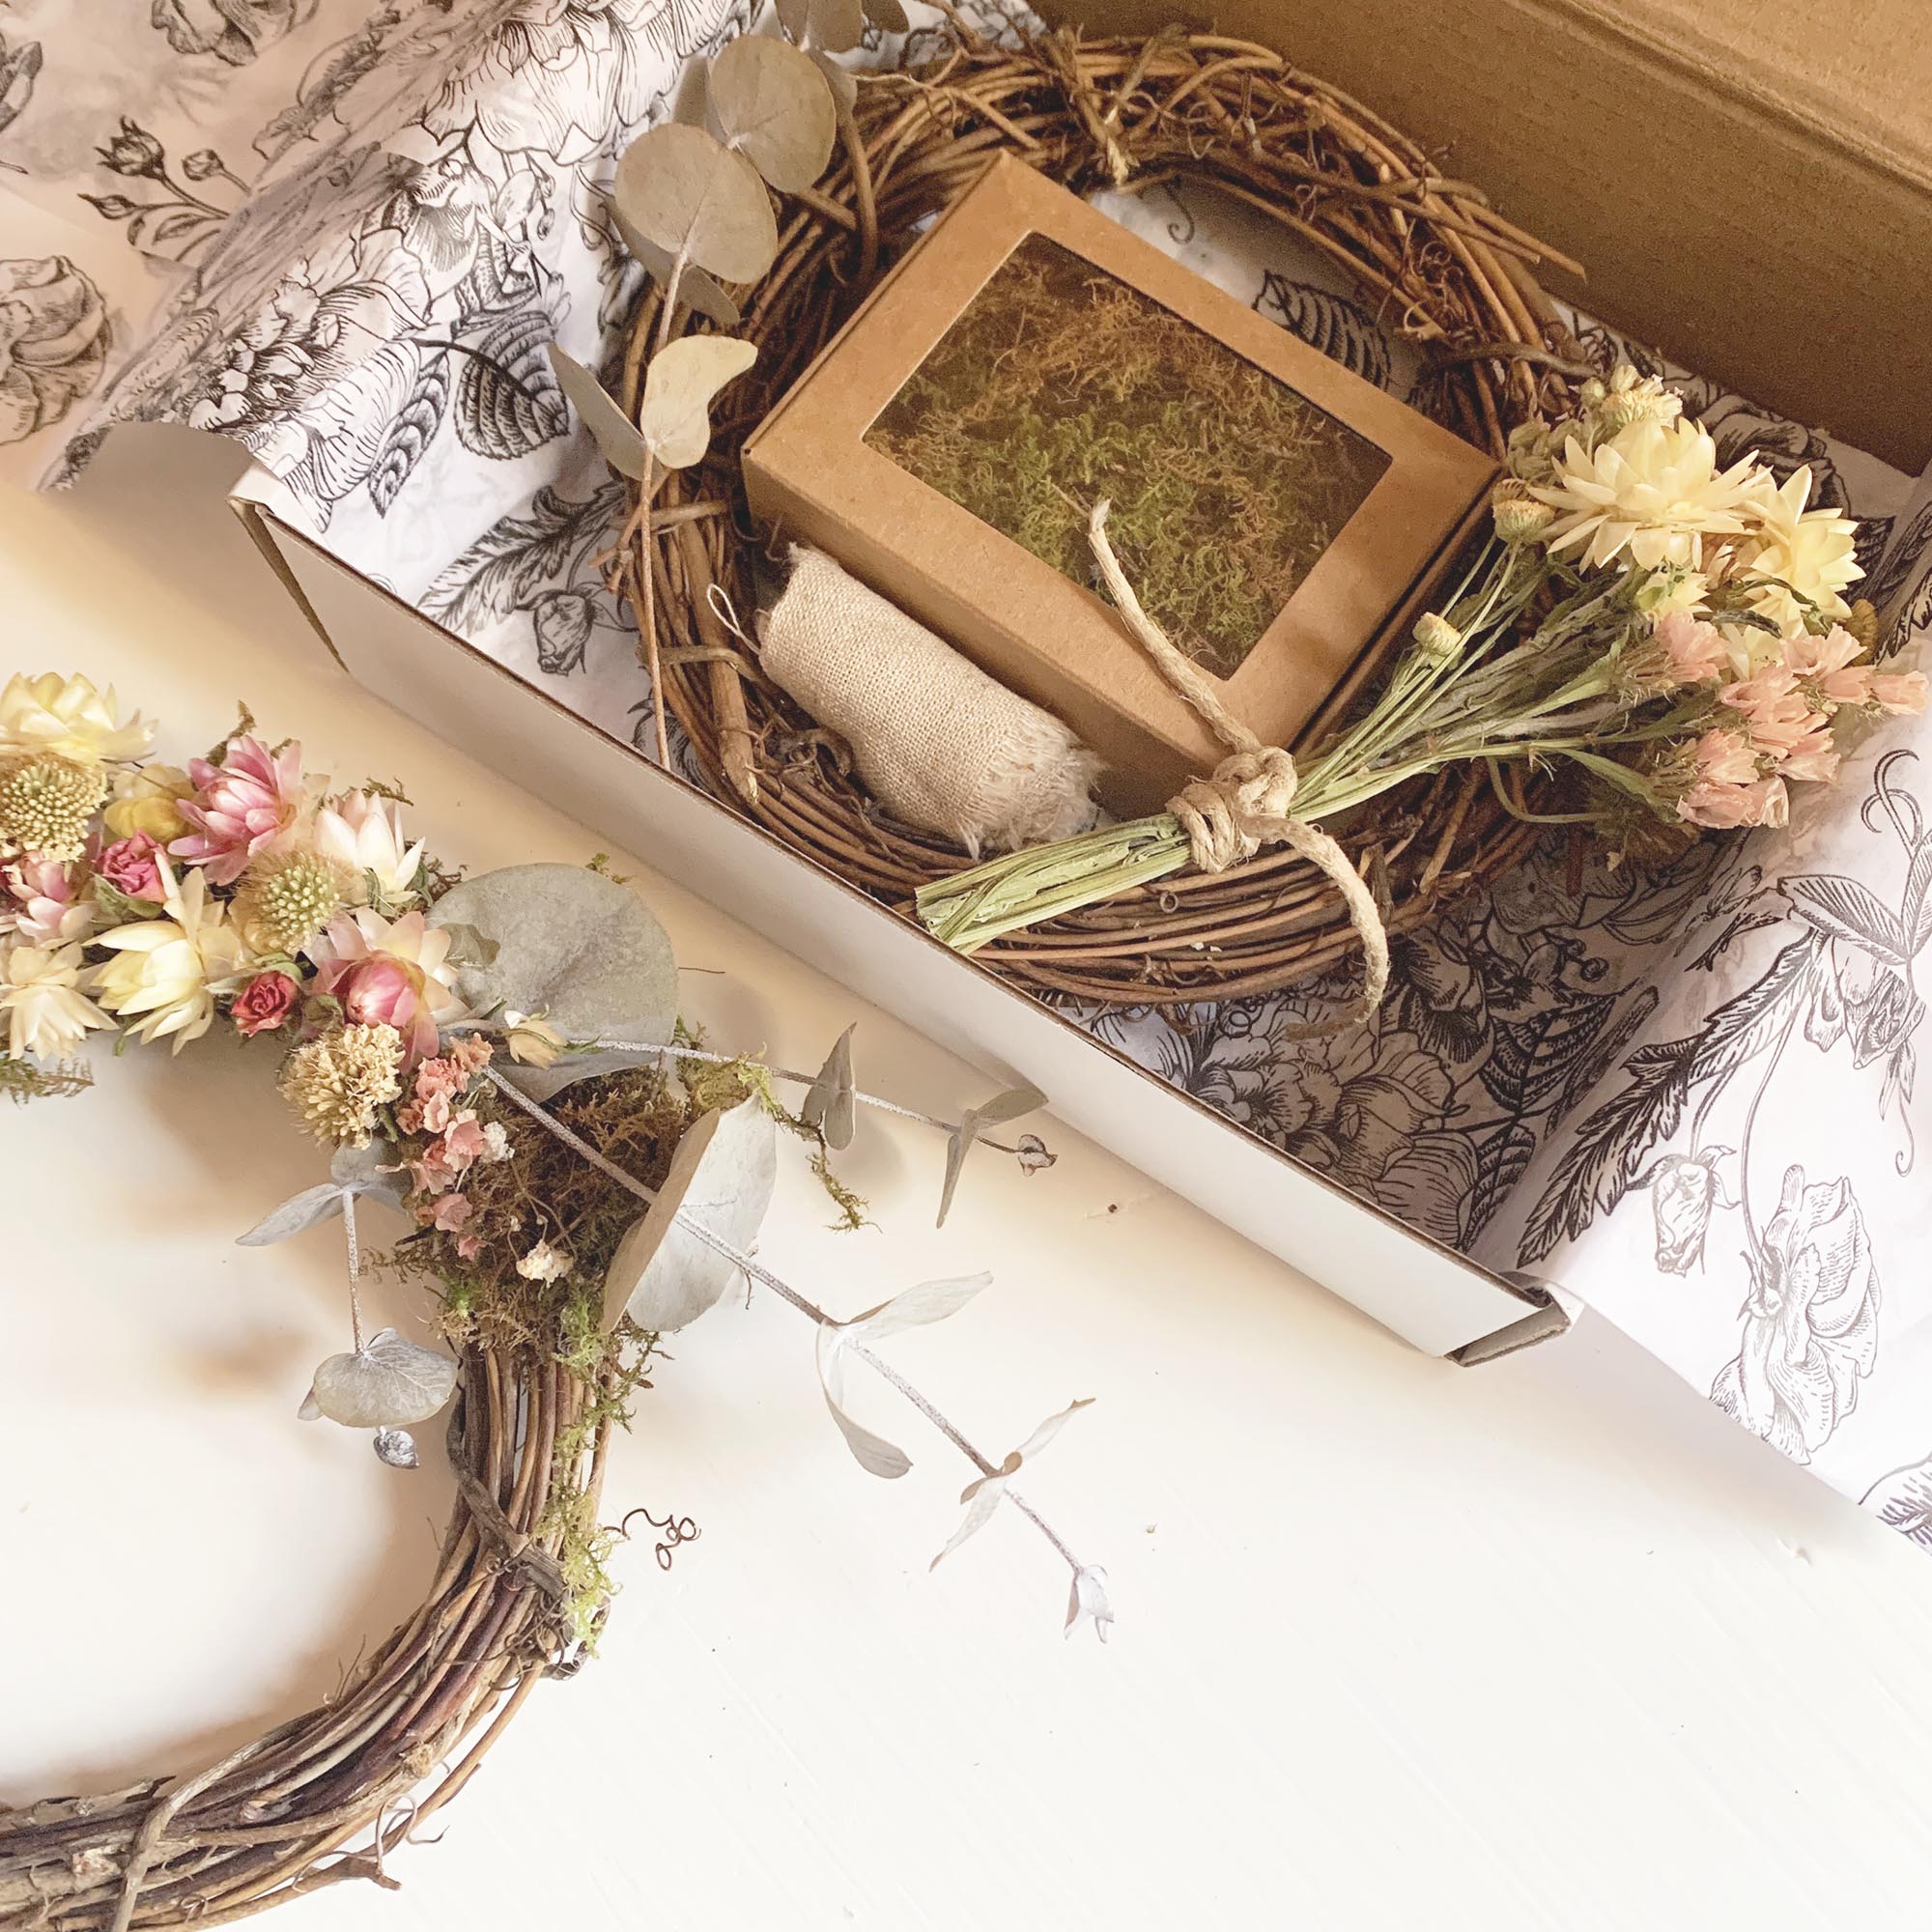
My suggestion, beyond just trying to keep it simple, is to consider craft kits. Mind you, I SELL craft kits, but I got the idea to sell them because I LOVE them. Ready made, everything included and packaged in a pretty little box! I am partial to mine, of course, but many Etsy sellers have craft kits for sale, and likely will give discounts for bulk purchases, like I do. It's definitely a time saver and something to consider!
#5 Choose your craft project wisely - BUDGETS
Crafts can be relatively inexpensive, or they can be VERY expensive. Depending on your group, you will have to decide the price point. If cost is of little concern and particularly if you are looking for a useful, high-quality project, then make sure to source either nice quality materials or purchase individual kits. If your group is more budget conscious, then you may have to source materials and shop sales. The challenge is, I have found, that this takes a LOT of time, and this may begin to cross over into the "stress" zone! An option I would suggest is to look for a craft kit that has supplies for several crafts, and then split the cost. My Christmas ornament kits are packaged like this--enough to make 3 or 4 ornaments, which would bring the cost down to under $10 each!
While we're talking money, make sure your invite (verbal or written!) clearly communicates the cost for the projects, unless you're planning on treating your friends for the evening. Set out a basket when people arrive for cash or checks, including online payment information if that is your preference.
#6 Send Invitations and Insist on RSVP's
Whether your event is formal or casual...whether you are sending physical invitations, digital by e-mail or text, or just telling your friends to come over on Saturday night...make sure to communicate that you would like to know for certain if they plan to come. I can't tell you how many times I have purchased and prepared materials for people who "might" show up to an event and then am left with materials that often cannot be returned. If you know your "for certains", it makes it simpler to get ready for the event and eliminates headaches!
If you are an "old-fashioned" gal and still like filling out and sending invitations, I have freebies for you! I have 3 styles of printable craft night invitations in my shop. If you subscribe to my quarterly Seasonal Notes Newsletter, you can download them for no charge. See information on subscribing at the end of this post.
#7 Make a Sample Project
Once you have the supplies, make sure that you put a craft together yourself before the event. Not only does this provide a sample for others to follow, but there have been many times that I realized once I was assembling the project that I needed to change something...perhaps a different type of glue, for example, or the order of assembly needed to be modified. Being confident in the process will help you look forward to your event and not worry about it!
#8 Prepare your Space
 Okay, ladies...this does NOT mean that you have to scrub your baseboards or repaint the living room! We LIVE in our houses, and when other women come over, it often puts them at ease knowing that you don't live in a perfect house...because they don't either! Here are the basics I suggest to "easily" get ready for your craft night:
-
Light cleaning...pick up toys and clutter, remove scary things from bathrooms, and vacuum...just to help you feel good about hosting
-
Cover the crafting table(s) with newspaper or cheap dollar store tablecloths - this makes clean-up quick
-
If your craft has several steps, set up a card table or table in another location for hot glue that needs a gun plugged in or a paint area that should be by a sink. Your friends can move from station to station as they complete their craft. I don't do this often, but it helps when needed!
-
At the main crafting table, set each place with everything each crafter will need. Some supplies can be shared, like craft glue...set the bottles in the middle of the table and give each person a small paper cup and toothpick, for example.
#9 Keep the Menu Minimal
Yes to food...no to stress! Every party needs some snacks, but I strongly encourage you to simpify the menu! Finger foods and paper plates will make prep and cleanup go a lot faster. If your group is a "wine and cheese" crowd...put some nice wine out and a charcuterie board...you're done! Other ideas would include things like veggies and dip, hummus and pita bread, a coffee bar...and of course, chocolate...lots of it! Try to avoid snacks like barbecue potato chips that will coat hands (and perhaps the crafts) with grease and residue.
#10 Provide Take-Home Packaging
Depending on the type of craft, you may need to provide something for your guests to carry their craft home in. Perhaps the paint or glue needs some time to dry, or a dried flower project would be damaged if put into a purse. I suggest either brown kraft paper gift bags or disposable cake containers...both are available at stores like Michael's or Hobby Lobby and are inexpensive. Say farewell to your guests...and my guess is...you'll all be ready to do it again soon!

I hope these 10 steps will help you feel prepared for your craft night and that it will be an amazing success! Happy Crafting!
