March 13, 2026
Dried flowers have a quiet kind of beauty. Their colors soften over time, their shapes become delicate, and they bring a small piece of the natural world indoors. One of my favorite ways to use them is in small wreaths. A simple ring of dried flowers can become a piece of wall art, a seasonal decoration, a natural accent ring around a candle, or a handmade gift.
On my small flower farm, I grow and dry all of the blooms that eventually make their way into my craft kits. I love to create small DIY projects with these flowers so others can enjoy the experience of working with natural botanicals!
Today I’m sharing a look inside my workshop and walking through the process of making one of my favorite projects: a small dried flower wreath. The wreath I’m making here is the same design featured in my 6" dried flower wreath kit, but the process itself is simple and can be adapted with many different dried flowers.
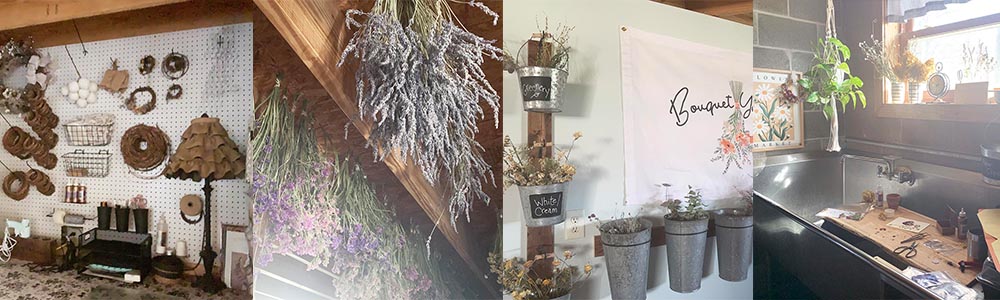
So...step into my workshop! Lest you think I work in some sort of "crafting paradise"...things are real here. Our workshop building is also home to my husband's carpentry shop and a guest apartment, so my flower workshop accumulates miscellaneous remnants of life--bike parts from teenagers, grandkids' toys, baskets of guest bedding needing washed, bags of chicken feed and the occasional farm cat that makes her way into my space. Still, I love my shop. Because I am both a flower grower and artist, my workshop houses seedlings, flowers hanging from rafters, flowers in presses, storage of said flowers...and lots and lots of supplies to turn these flowers into home decor. Sit with me now and I'll show you how I make my signature 6" wreath.
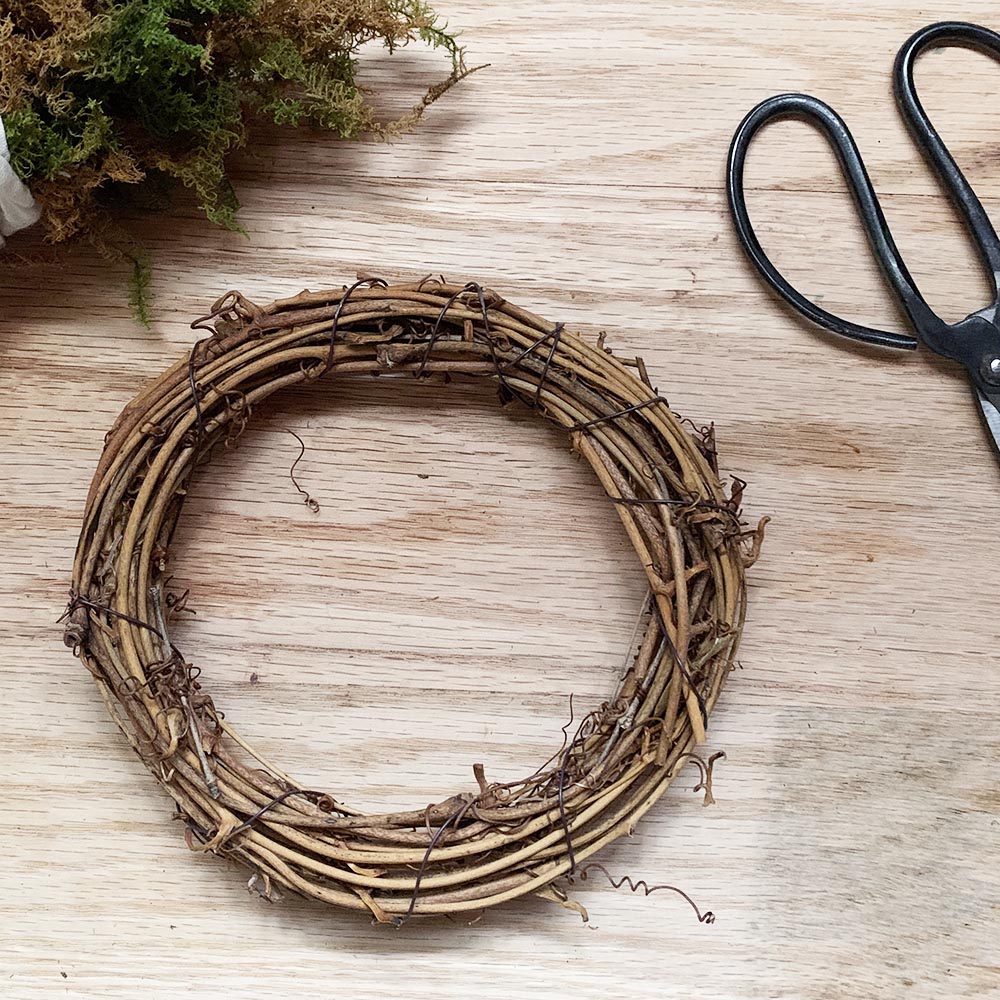
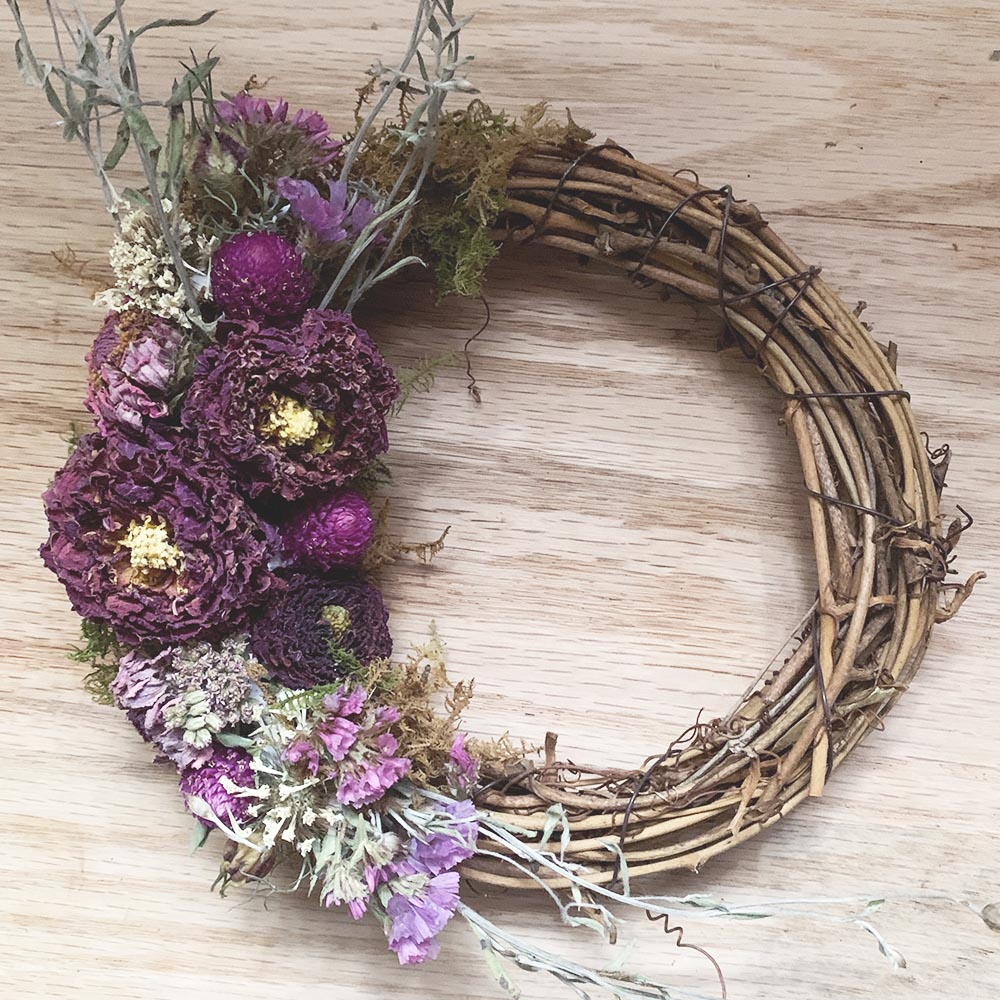
While dried flower wreaths can be made many ways, I use a process that doesn't involve myriads of wired mini bouquets or the feeling that you need more hands than you were born with to complete the task. I start my wreaths with a pre-made wreath base. While I have made many of my own from grapevines or honeysuckle here on the farm, for most people it is easier and more accessible to simply purchase a base. Because I try to use only natural materials in my art, grapevine bases are perfect.
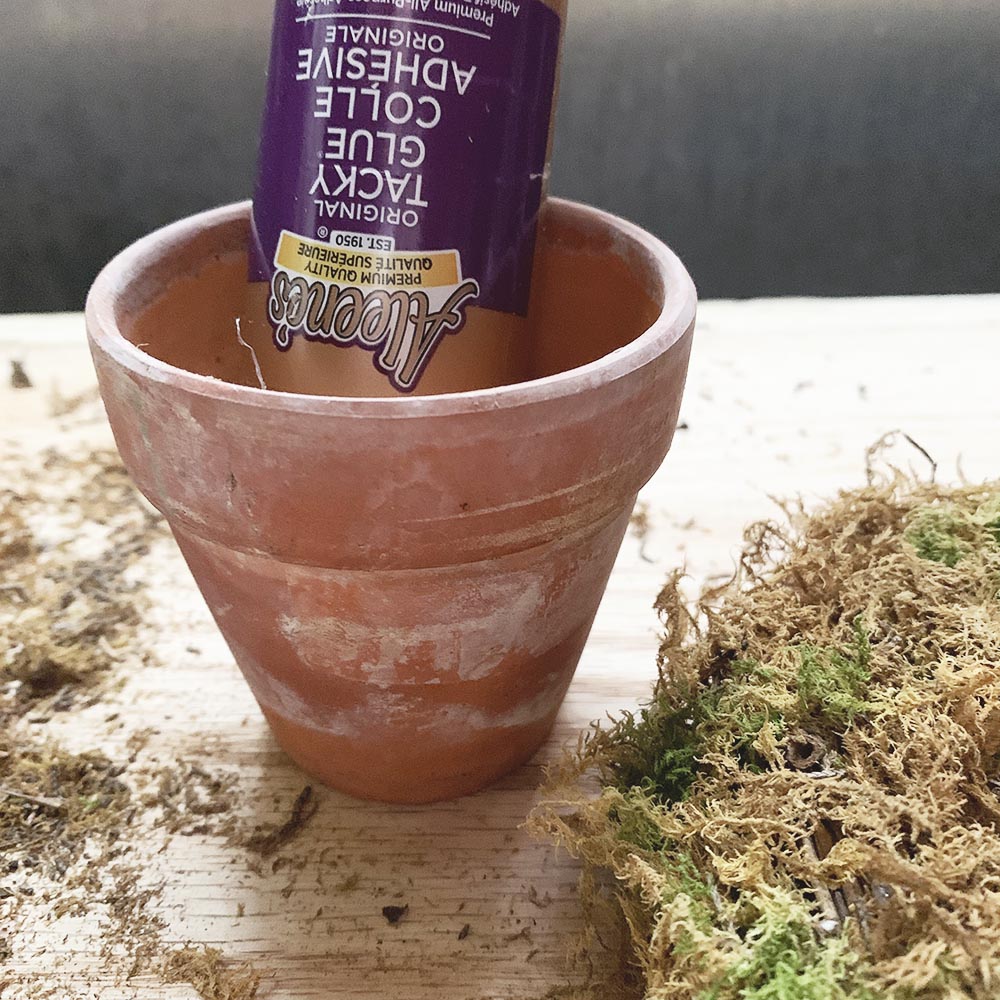 Rather than wire, I use a moss layer and adhere the flowers with adhesive. While hot glue would work for this project, I prefer a simple tacky craft glue. Basic craft glue is non-toxic, water-based, and more friendly to the environment than petroleum-based hot glue. I also like to be reminded to slow down and enjoy the process rather than see how fast I can finish my wreath.
While crafting, I store my bottle of glue upside-down in a small clay pot; any heavier cup would work. This allows the thick glue to stay at the top of the bottle and it flows quickly when I am ready for it.
Visually divide your wreath into 3 sections and put a generous l ayer of glue onto that section. Next, you will press moss onto that section of the wreath. Moss is a plant that grows in moist, dark areas, often at the base of trees in wooded areas. While there are many types, I like sheet moss that has been preserved naturally without dyes, maintaining a mix of soft green and earthy browns. I get my moss from a supplier that harvests it sustainably, but it can be purchased at any craft store.
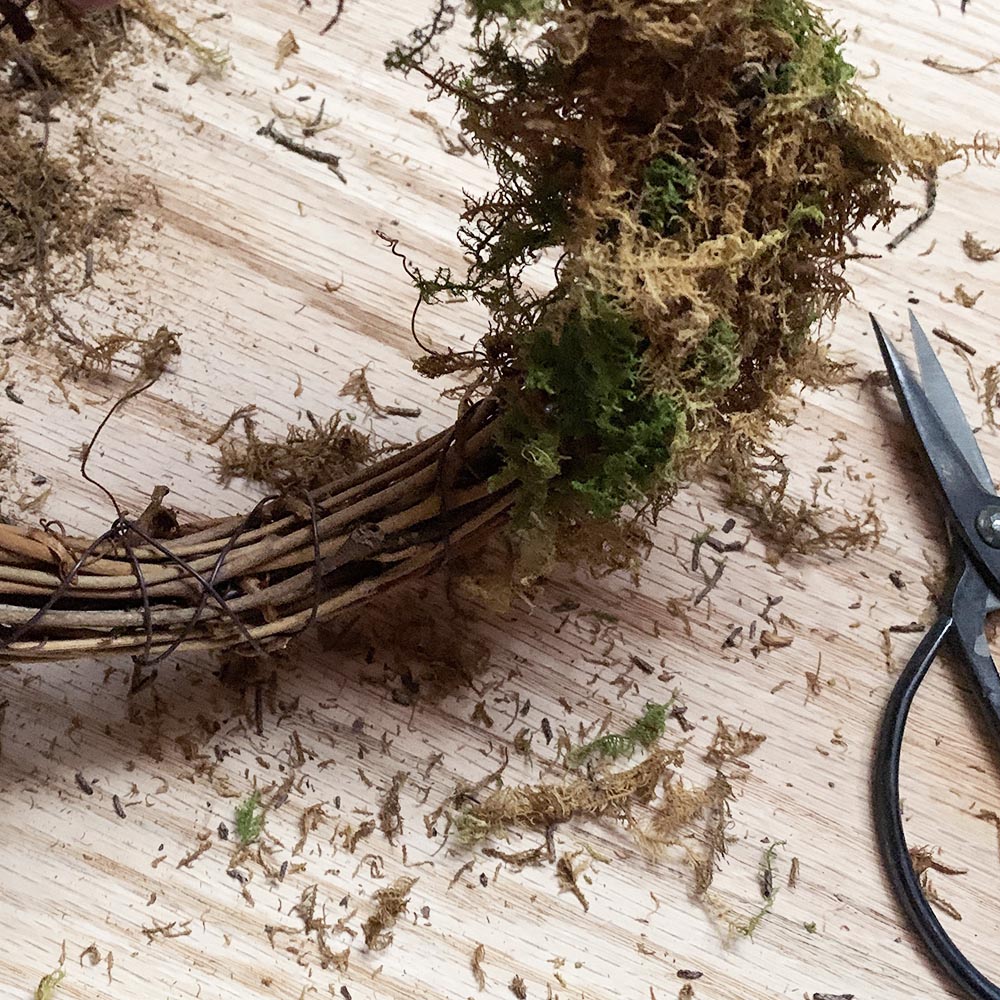
Press your moss firmly to the wreath and let it set. Add more glue and moss until it is full. Trim any stray pieces.
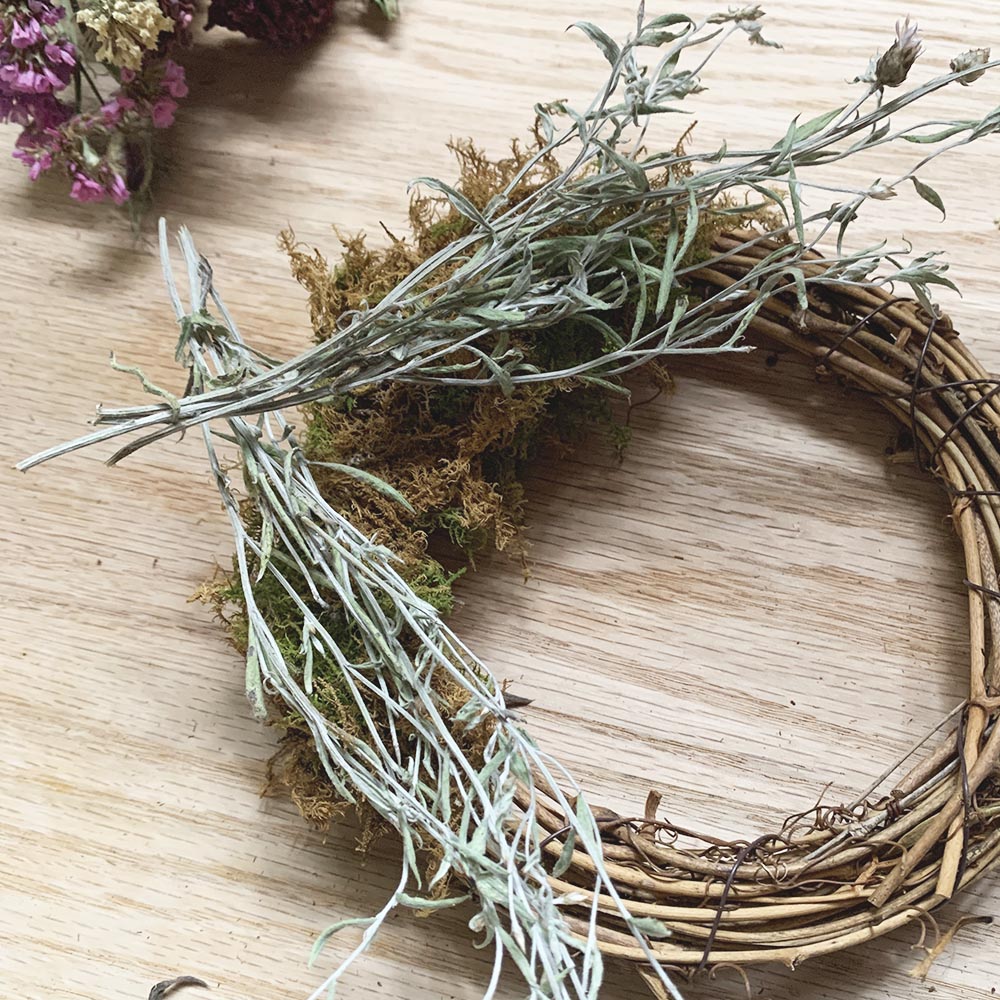
Next you will add long sprigs of greenery. I use greenery that I have preserved in glycerine to allow it to be soft and flexible instead of "dry and crispy" like some dried greenery...my favorites are eucalyptus, Sweet Annie, Persian Cress and Xeranthemum, shown here in this design. Lay the greenery out to frame the moss area and get an idea for placement.
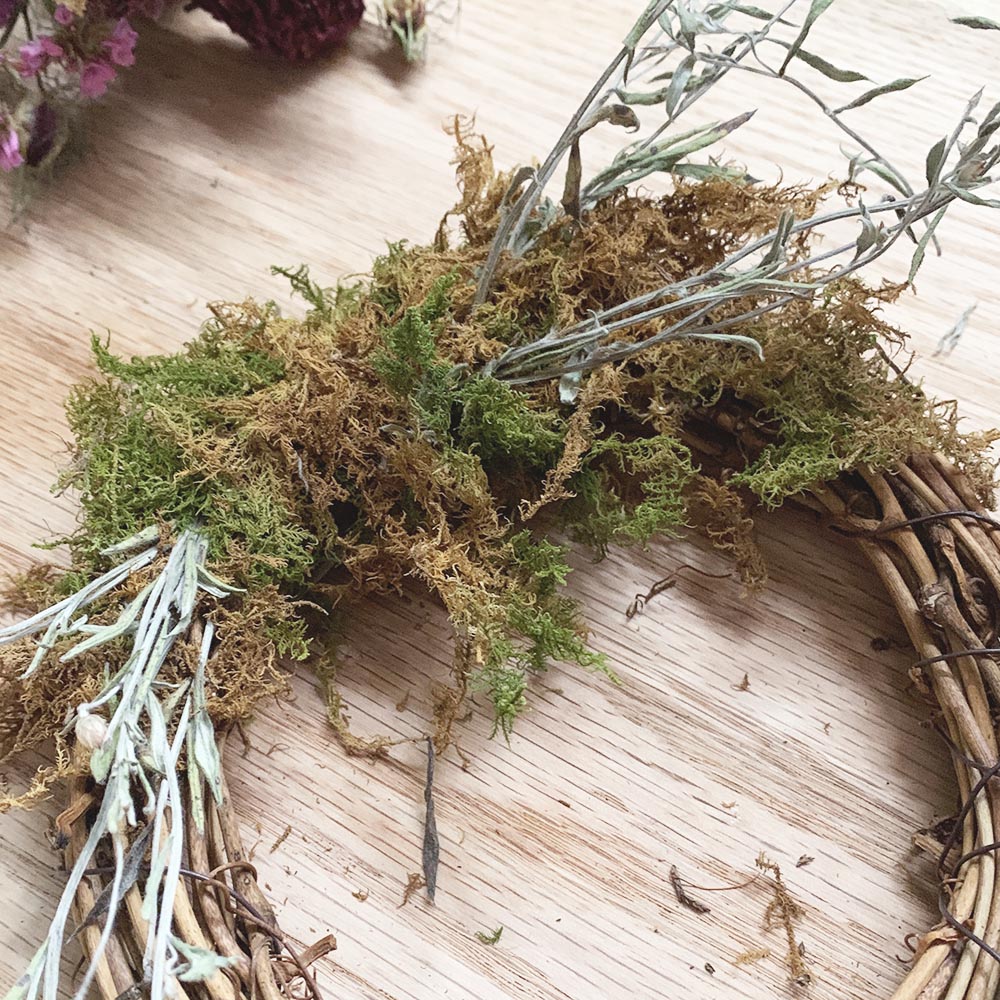 Tuck the stems into the moss base and wreath, adding glue to make them more secure if needed.
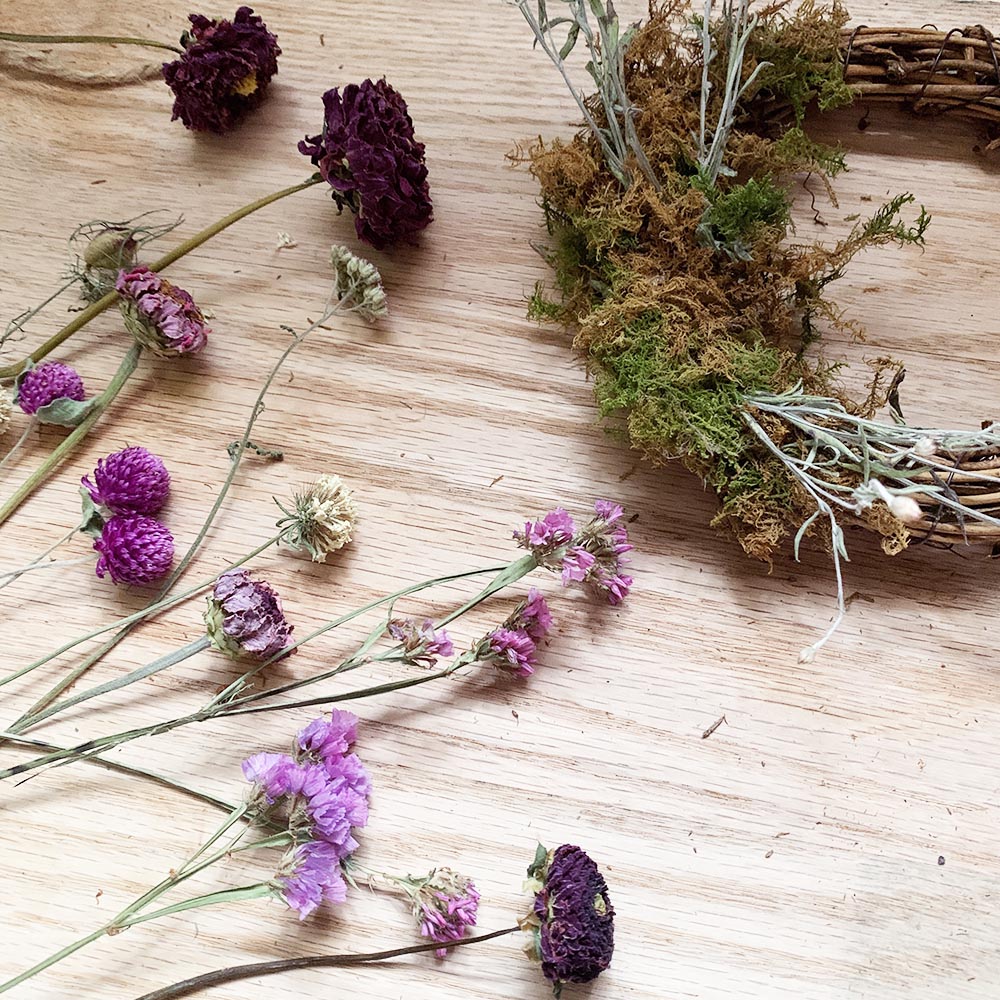
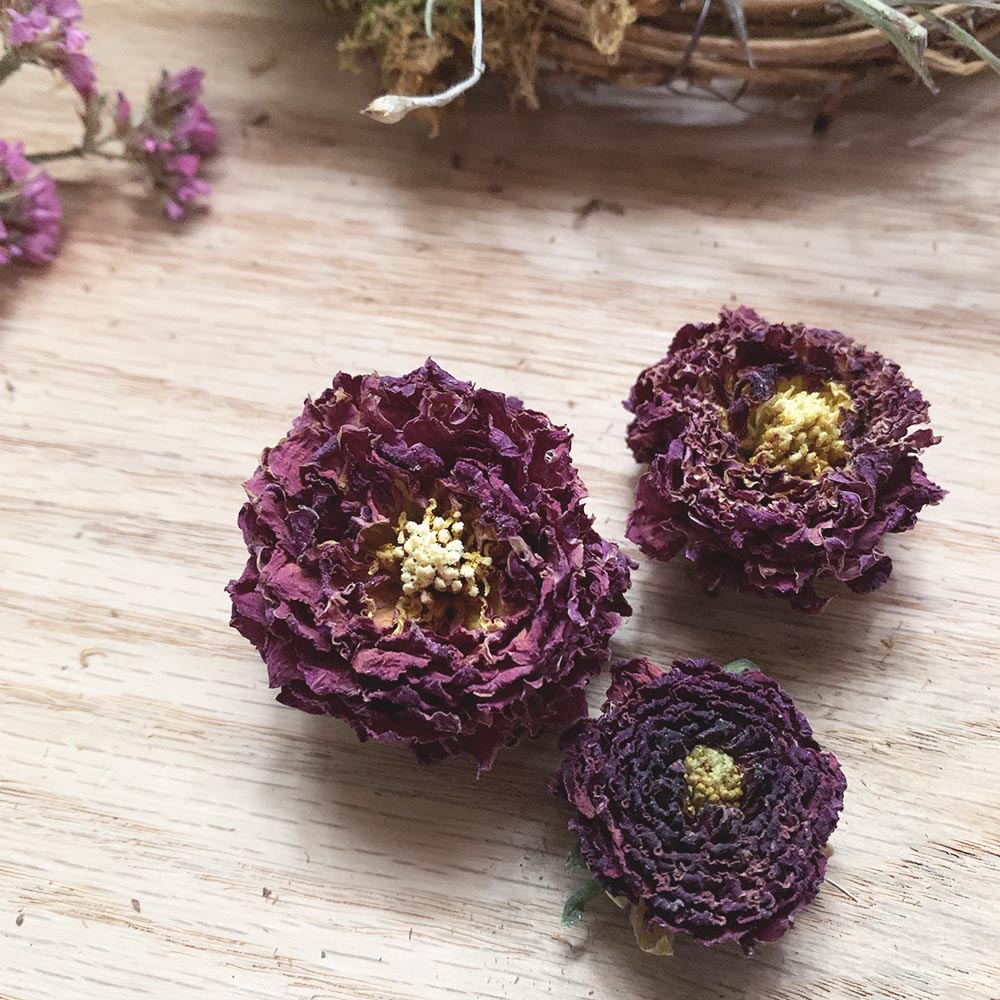
It's time for flowers! I like to design my wreaths with a monochromatic color palette...many variations of the same color family. This particular wreath, called my "Wild Plum" wreath, uses dahlias as the focal flowers and then adds in zinnias, gomphrena, statice, scabiosa and nigella pods as the "supporting cast". You will need at least 3 focal flowers and 12-15 smaller filler flowers for your wreath.

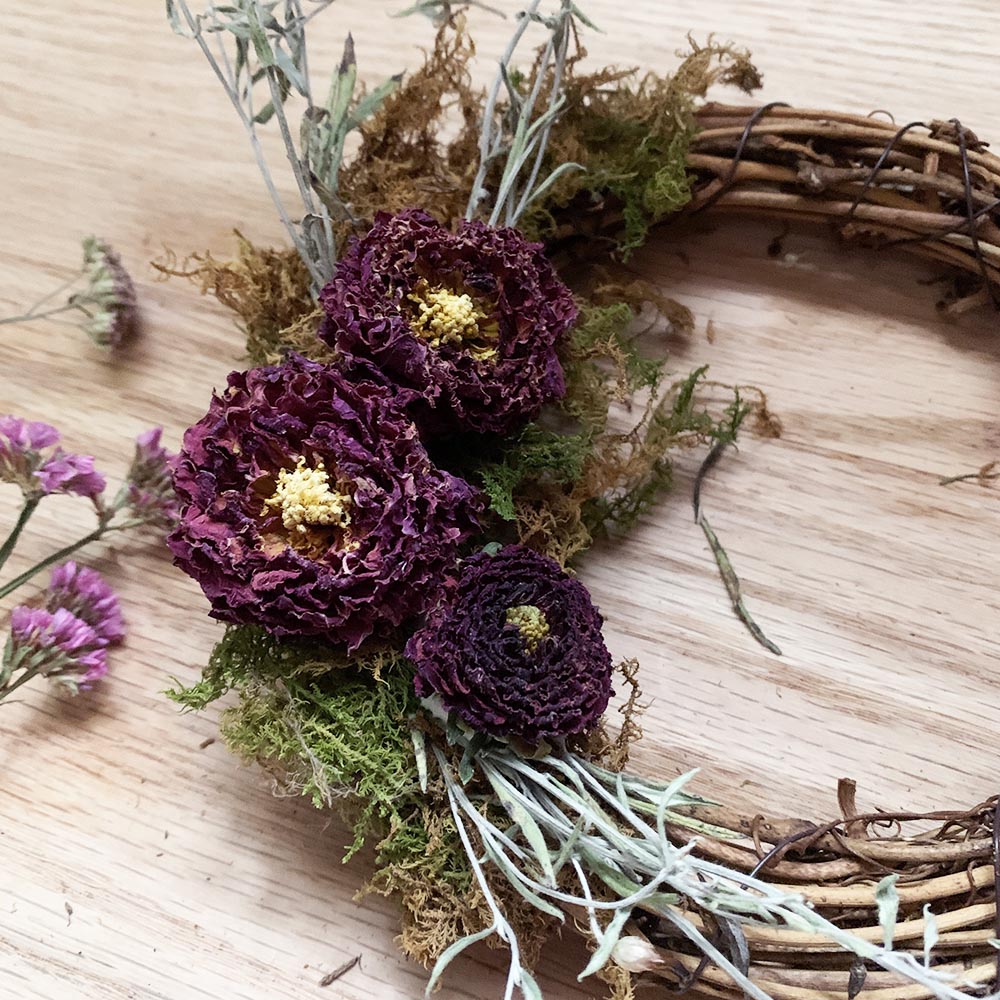
Apply a generous amount of glue to the back of each focal flower and arrange them in a cluster in the center of the moss. Allow a few minutes for them to set.
Your wreath is beginning to take shape!
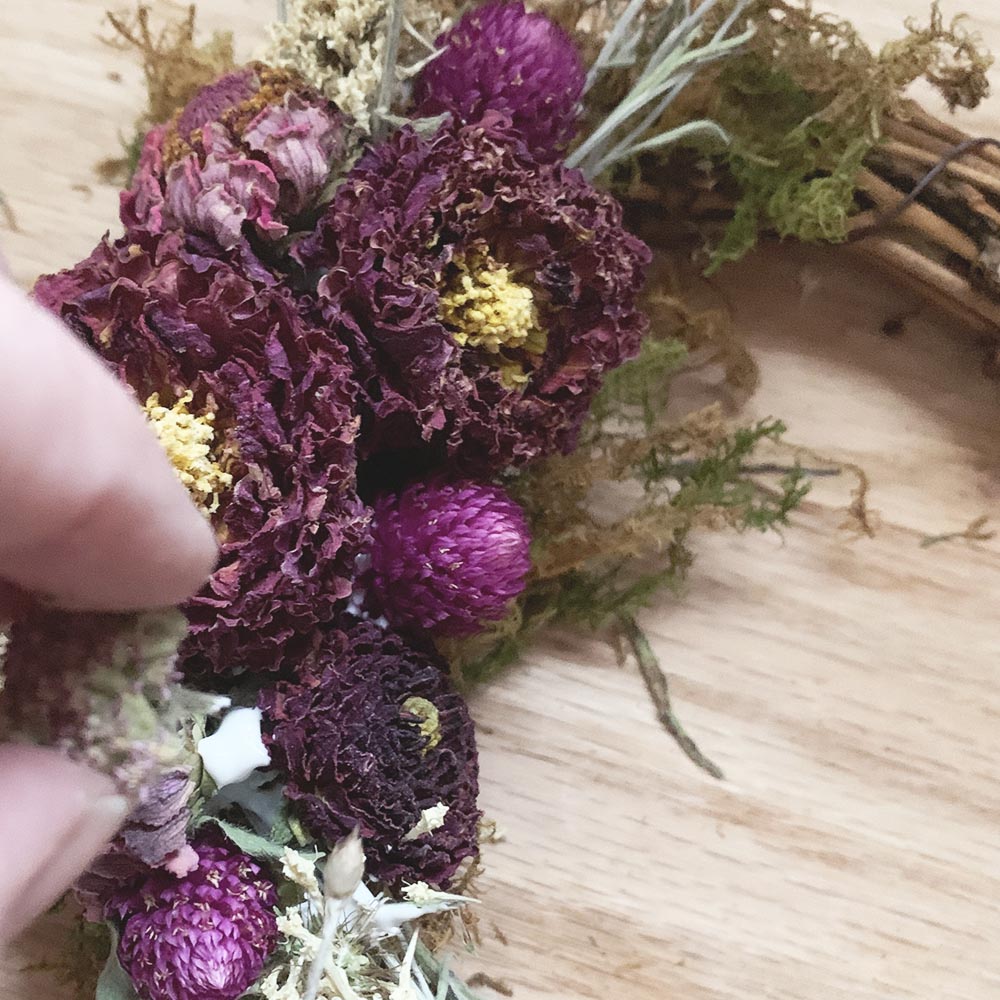
Using the remaining filler flowers, tuck them around the focal flowers. Don't try to make the flowers symmetrical...floral design looks more natural with some asymmetry.
If you have flowers that you want to stand out a bit from the others such as nigella pods, you can leave a longer stem on them, add glue, and tuck them where you want them.

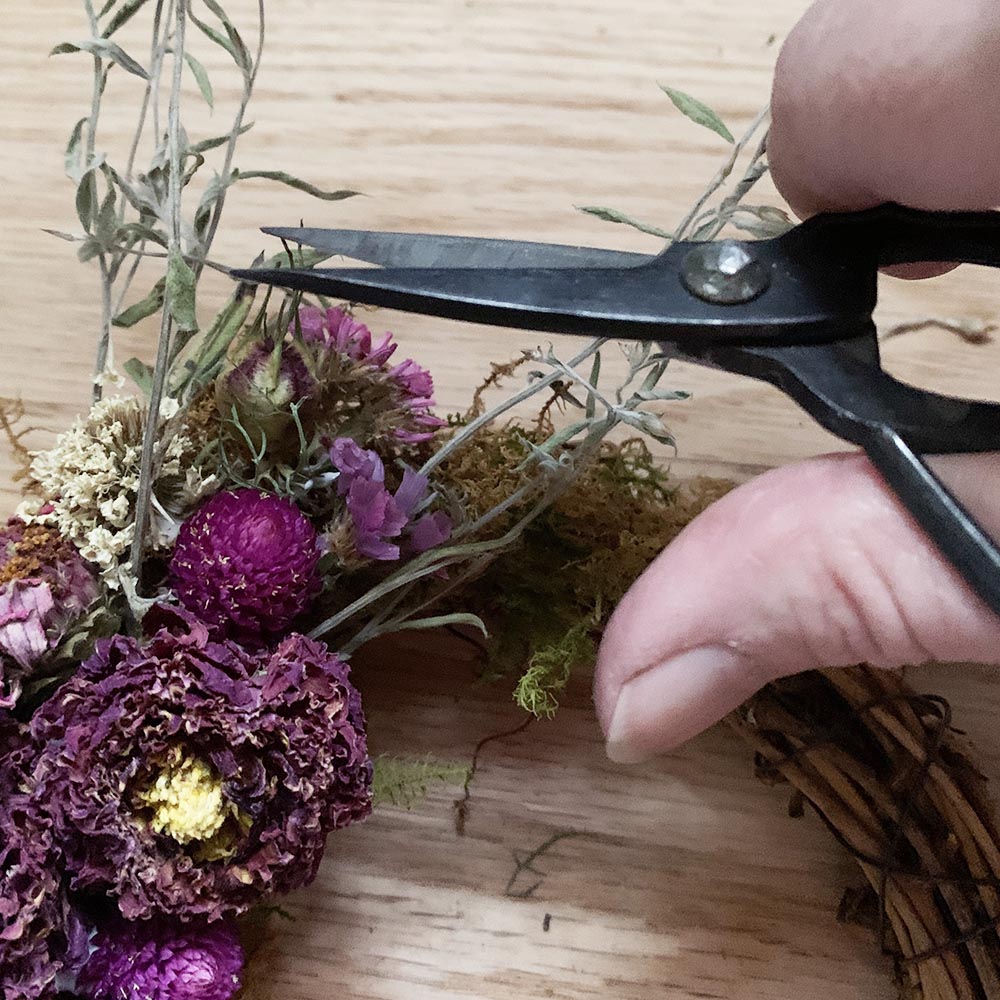
Look over the wreath...if there are areas that show unsightly stems or "holes" in the design, add more glue and fill the area with moss or more flowers. If something looks out of proportion, take your scissors and snip it off! Don't forget...dried flowers can be brittle but are also very forgiving! If anything breaks off, just add some more glue, moss and flowers and it will look amazing.
Stand back and admire your finished wreath...created by you with materials created by another! If you want to hang your wreath, loop a length of ribbon around it. I like to use linen ribbon, but any ribbon will work well.
If you'd like to try this project without having to source and dry the flowers yourself, I’ve put together a DIY kit that includes everything needed to make the wreath and is available in other color palettes. You can find that kit HERE.
I publish a free quarterly newsletter that gives updates on my farm, new kit previews, seasonal decorating ideas, and discounts. Subscribing also gives you access to free printables in my shop--my first 100 subscribers will also receive a sweet little botanical gift in the mail as a thank you. You can learn more HERE.